Well, no, not really, but we were due. It had been two years since we’d been out of the water and we wanted to lay eyeballs on all the important stuff (rudder foot, rudder, prop, etc). Plus, when we had the hull dived (dove? diven?) on last fall the diver said we were pretty due for a bottom job.
Although not as big a list as some years, we also had some projects to do that could be done in the water or on the hard.
Of course, when you own a boat out of state, nothing’s simple. After our trip to San Francisco Bass did an 18 hour round trip (by air) from Hailey to Bellingham to motor the boat over to the yard and have it hauled and go over things with the yard.. He then flew home for a week of work and left the good folks at Seaview North to do as much of the bottom job as they could with a week of lousy weather.
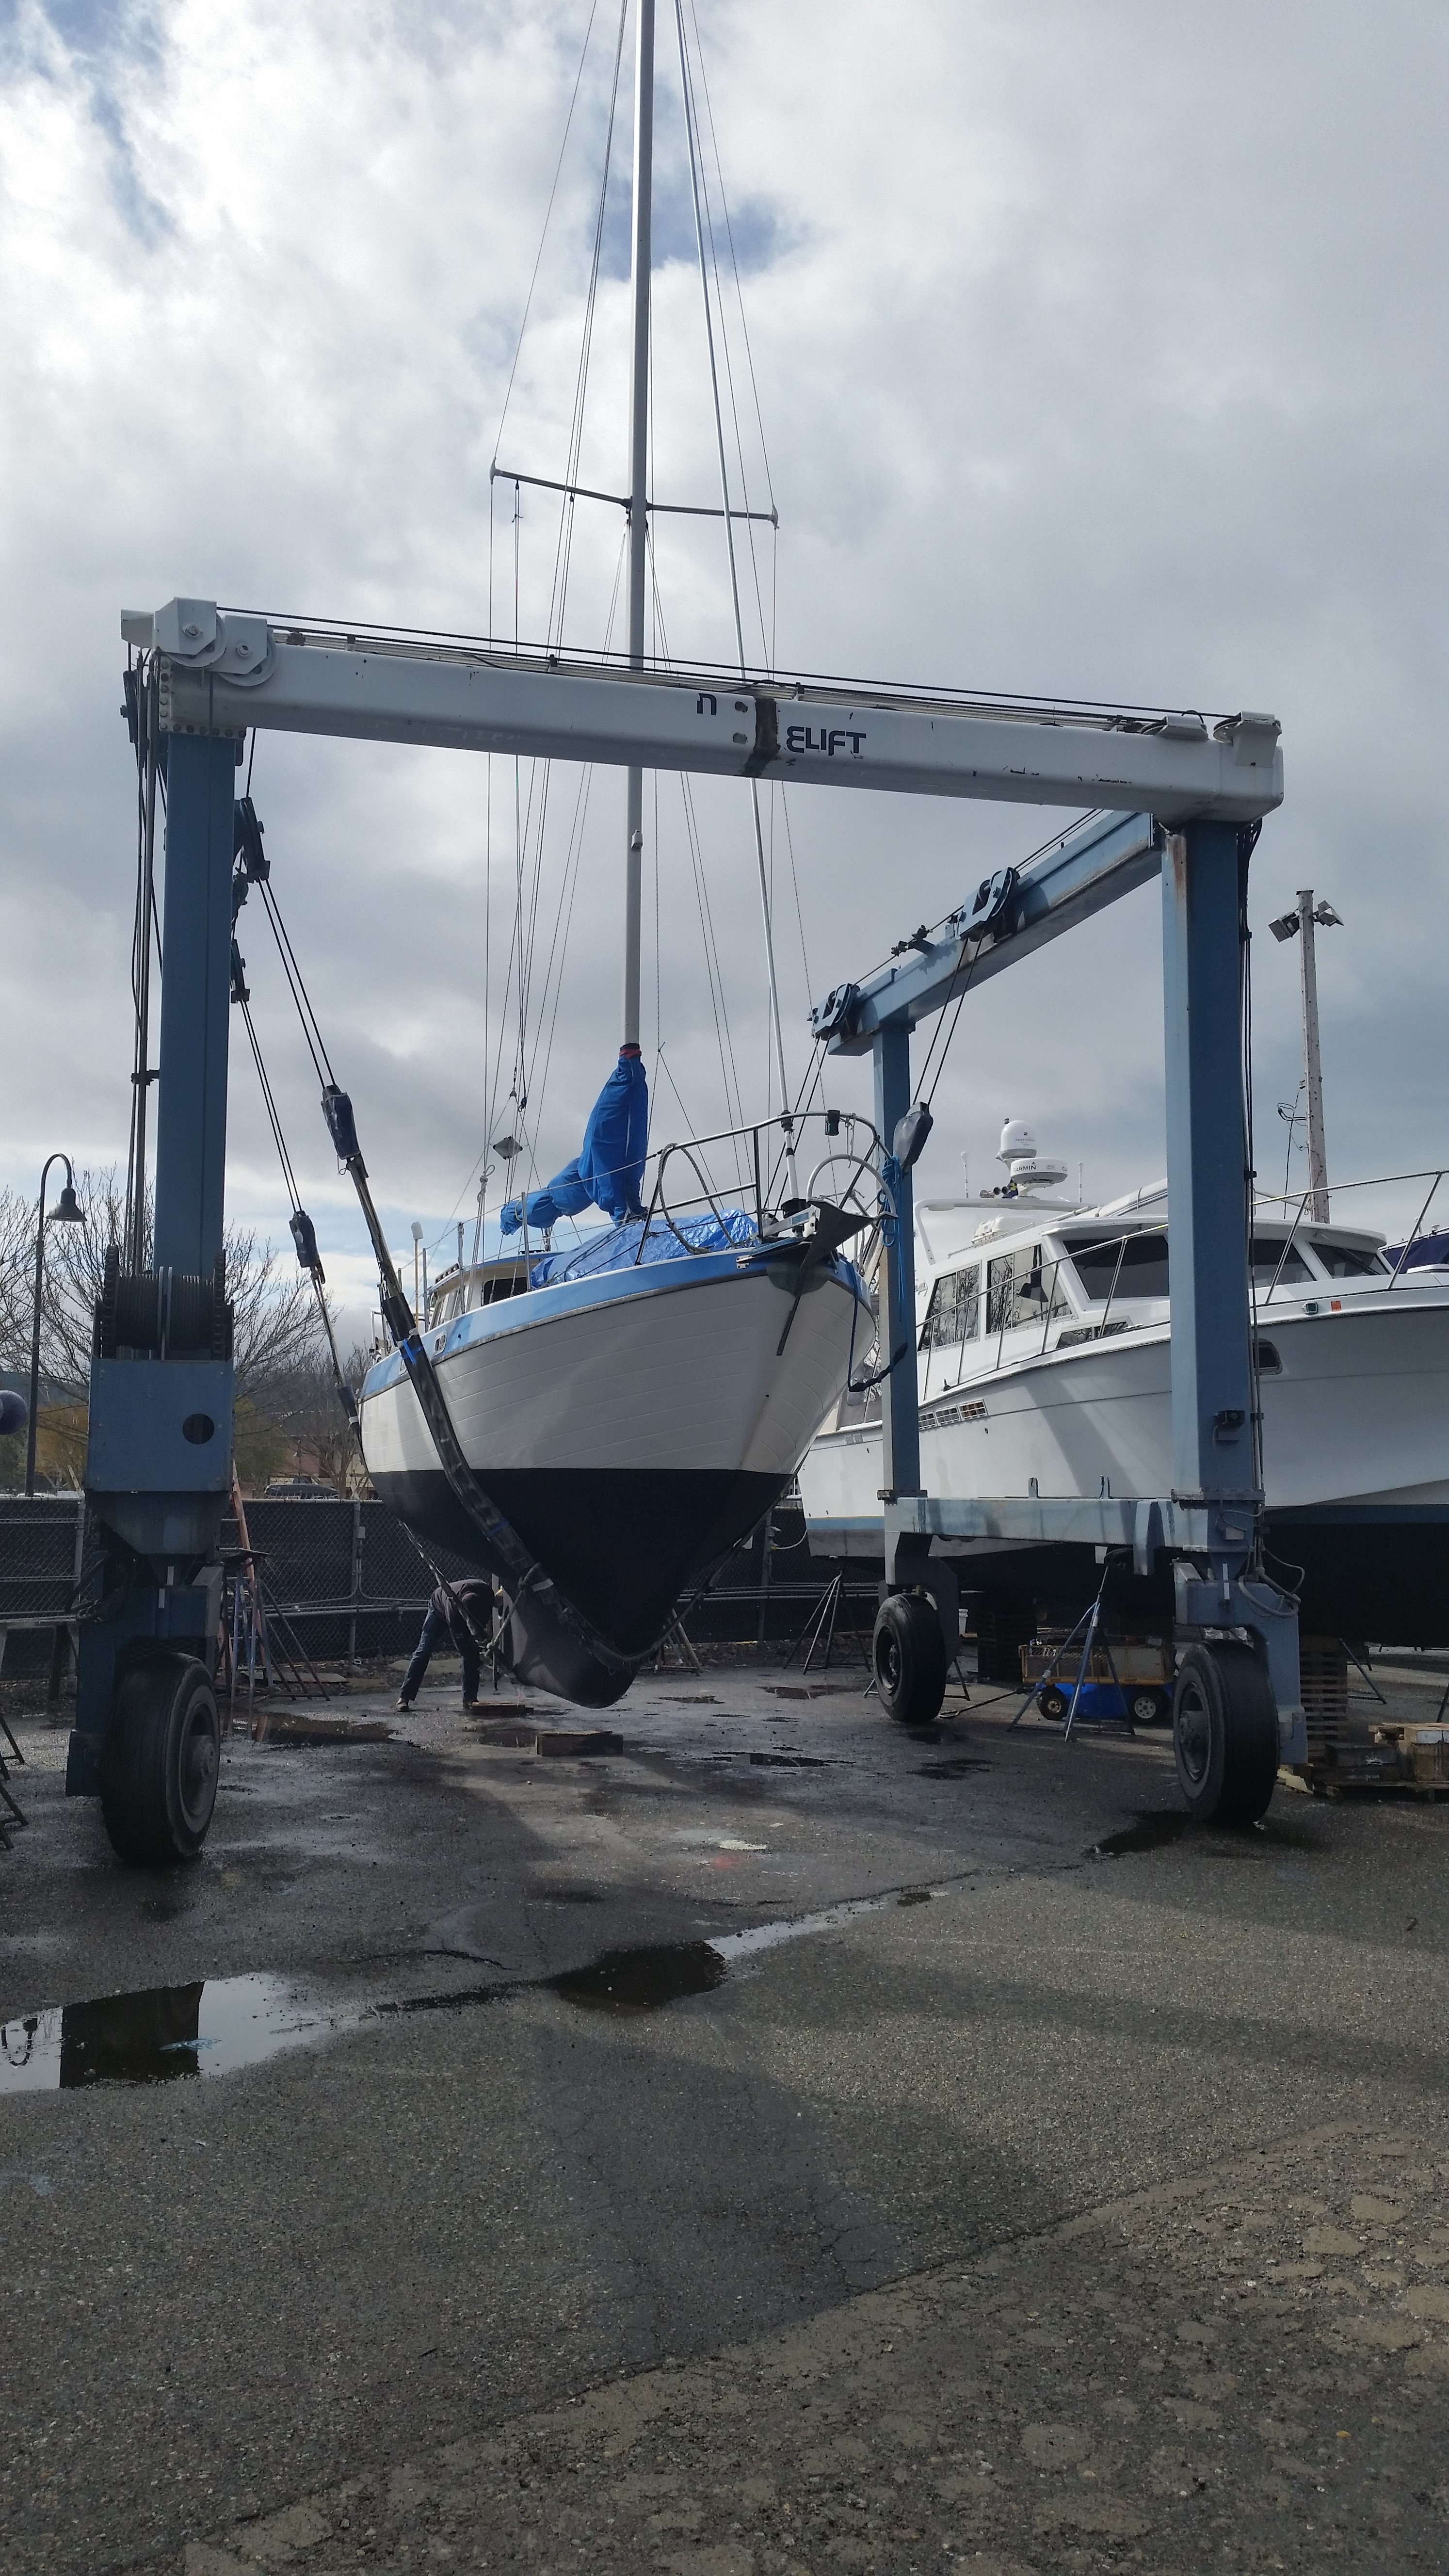
A few notes on our bottom job choices. After an initially rather, err, overreaching quote from the yard to peel the gel coat, do four epoxy coats and then bottom paint (and drop the mast to do this all indoors) Bass was going to do a basic bottom job himself. But after some more research and a discussion with some of our sailing contacts in Bellingham, having the yard do it seemed the way to go. They were going to have to do the haul, powerwash and prep anyway, so why not pay the extra $8/foot to have them do the actual bottom paint. We had hard paint on the boat from when we bought it, but wanted to go to an ablative so it wouldn’t keep building up and so it wouldn’t get deactivated next time we were out of the water (hard paint can’t be out of the water for long before it loses its effectiveness). We went with Seaview’s “standard” Seahawk Cukote, and we are now on a one coat every two years schedule which suits us fine.
While Seaview was taking care of the last parts of the bottom job, the three bigger projects Bass did were:
Autopilot upgrade
Over the last 18 months we have tried (and tried and tried) to tweak and adjust and reset and massage the older ST4000+ wheelpilot the boat came with, to get it to track reliably. And it simply won’t. No amount of settings changes, recalibration of the compass, moving of the compass, motoring, sailing etc etc would get it to do anything other than wander like a drunken sailor (we can do that on our own, thanks). ENOUGH. Defender’s spring sale got us a full EV100 package for a good price, quite a bit of which we hope to recoup by selling the ST4000+ control head and fluxgate compass on eBay. While nothing on a boat goes as smoothly as you’d hope, I will say the removal of the old pilot and installation of the EV100 went really quite smoothly. We have a good location for the control head and compass in the unused “chart drawer” under the nav table, and we are (for now) using the existing wheel drive unit as it works just fine. There are very few settings to mess with with the EV100, and while there will be some tweaking to do going forward a quick sea trial coming back from the yard went very smoothly, so hopefully this will be a solution for us.
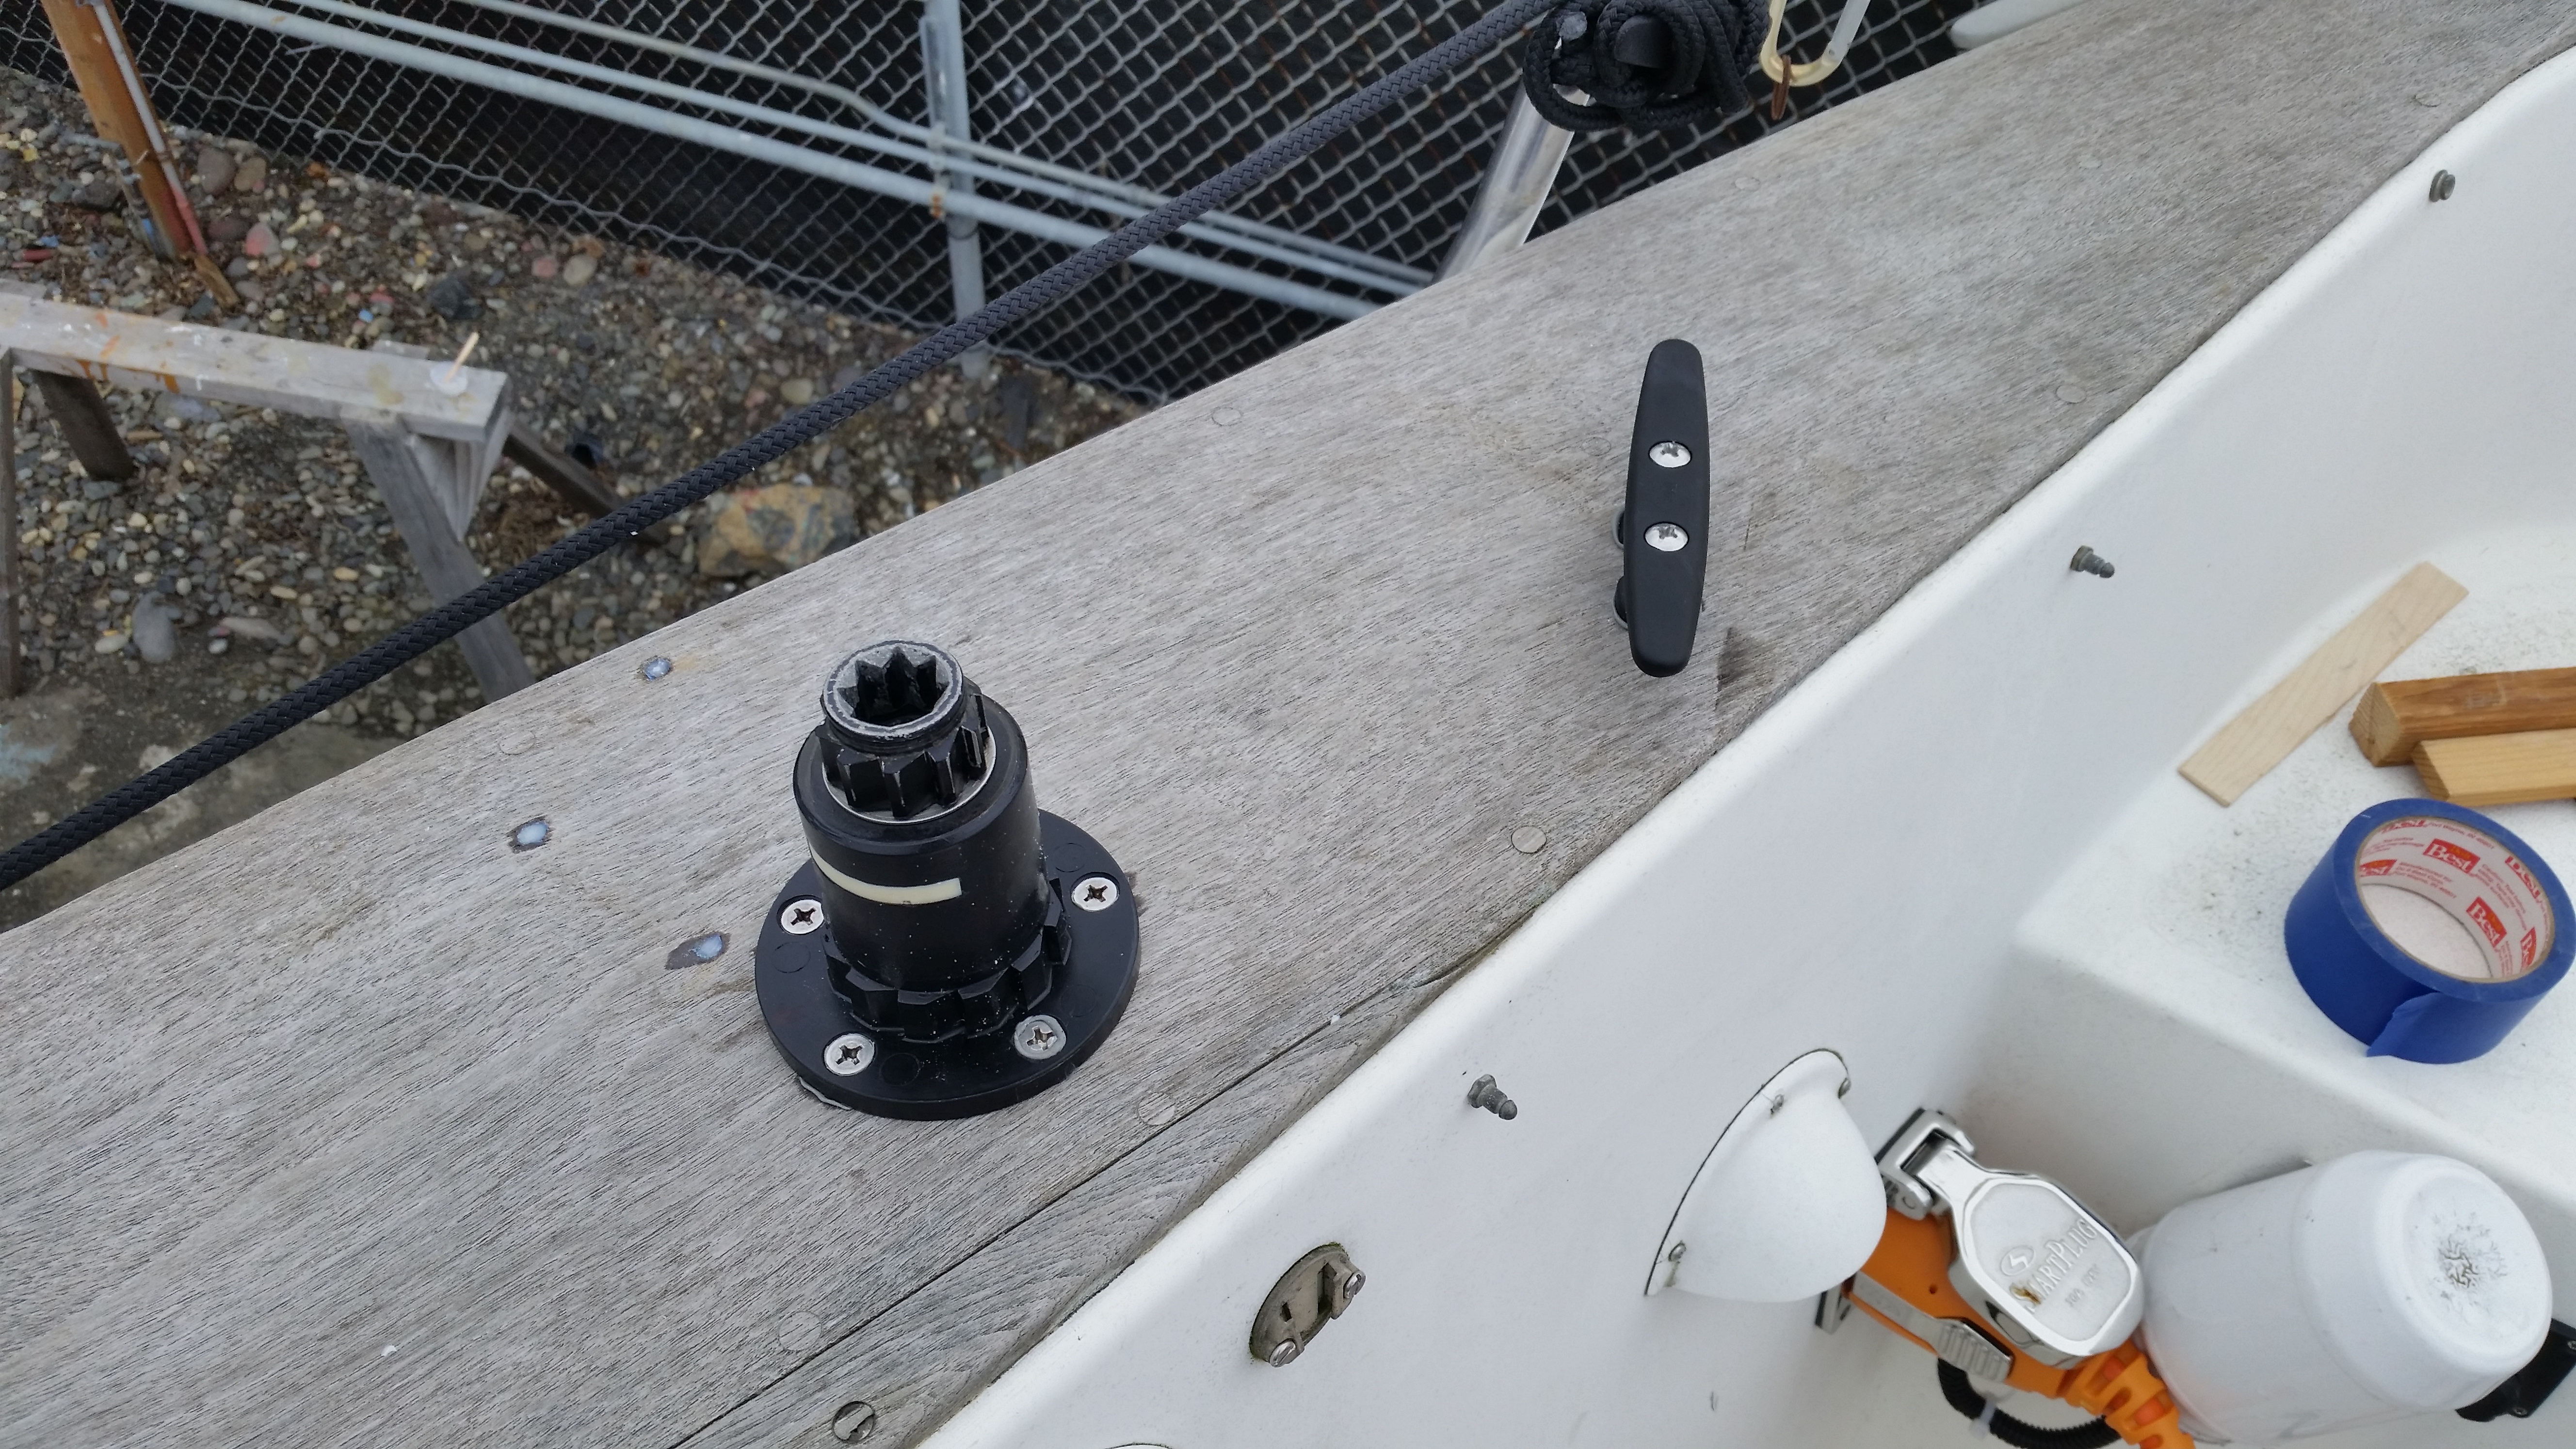
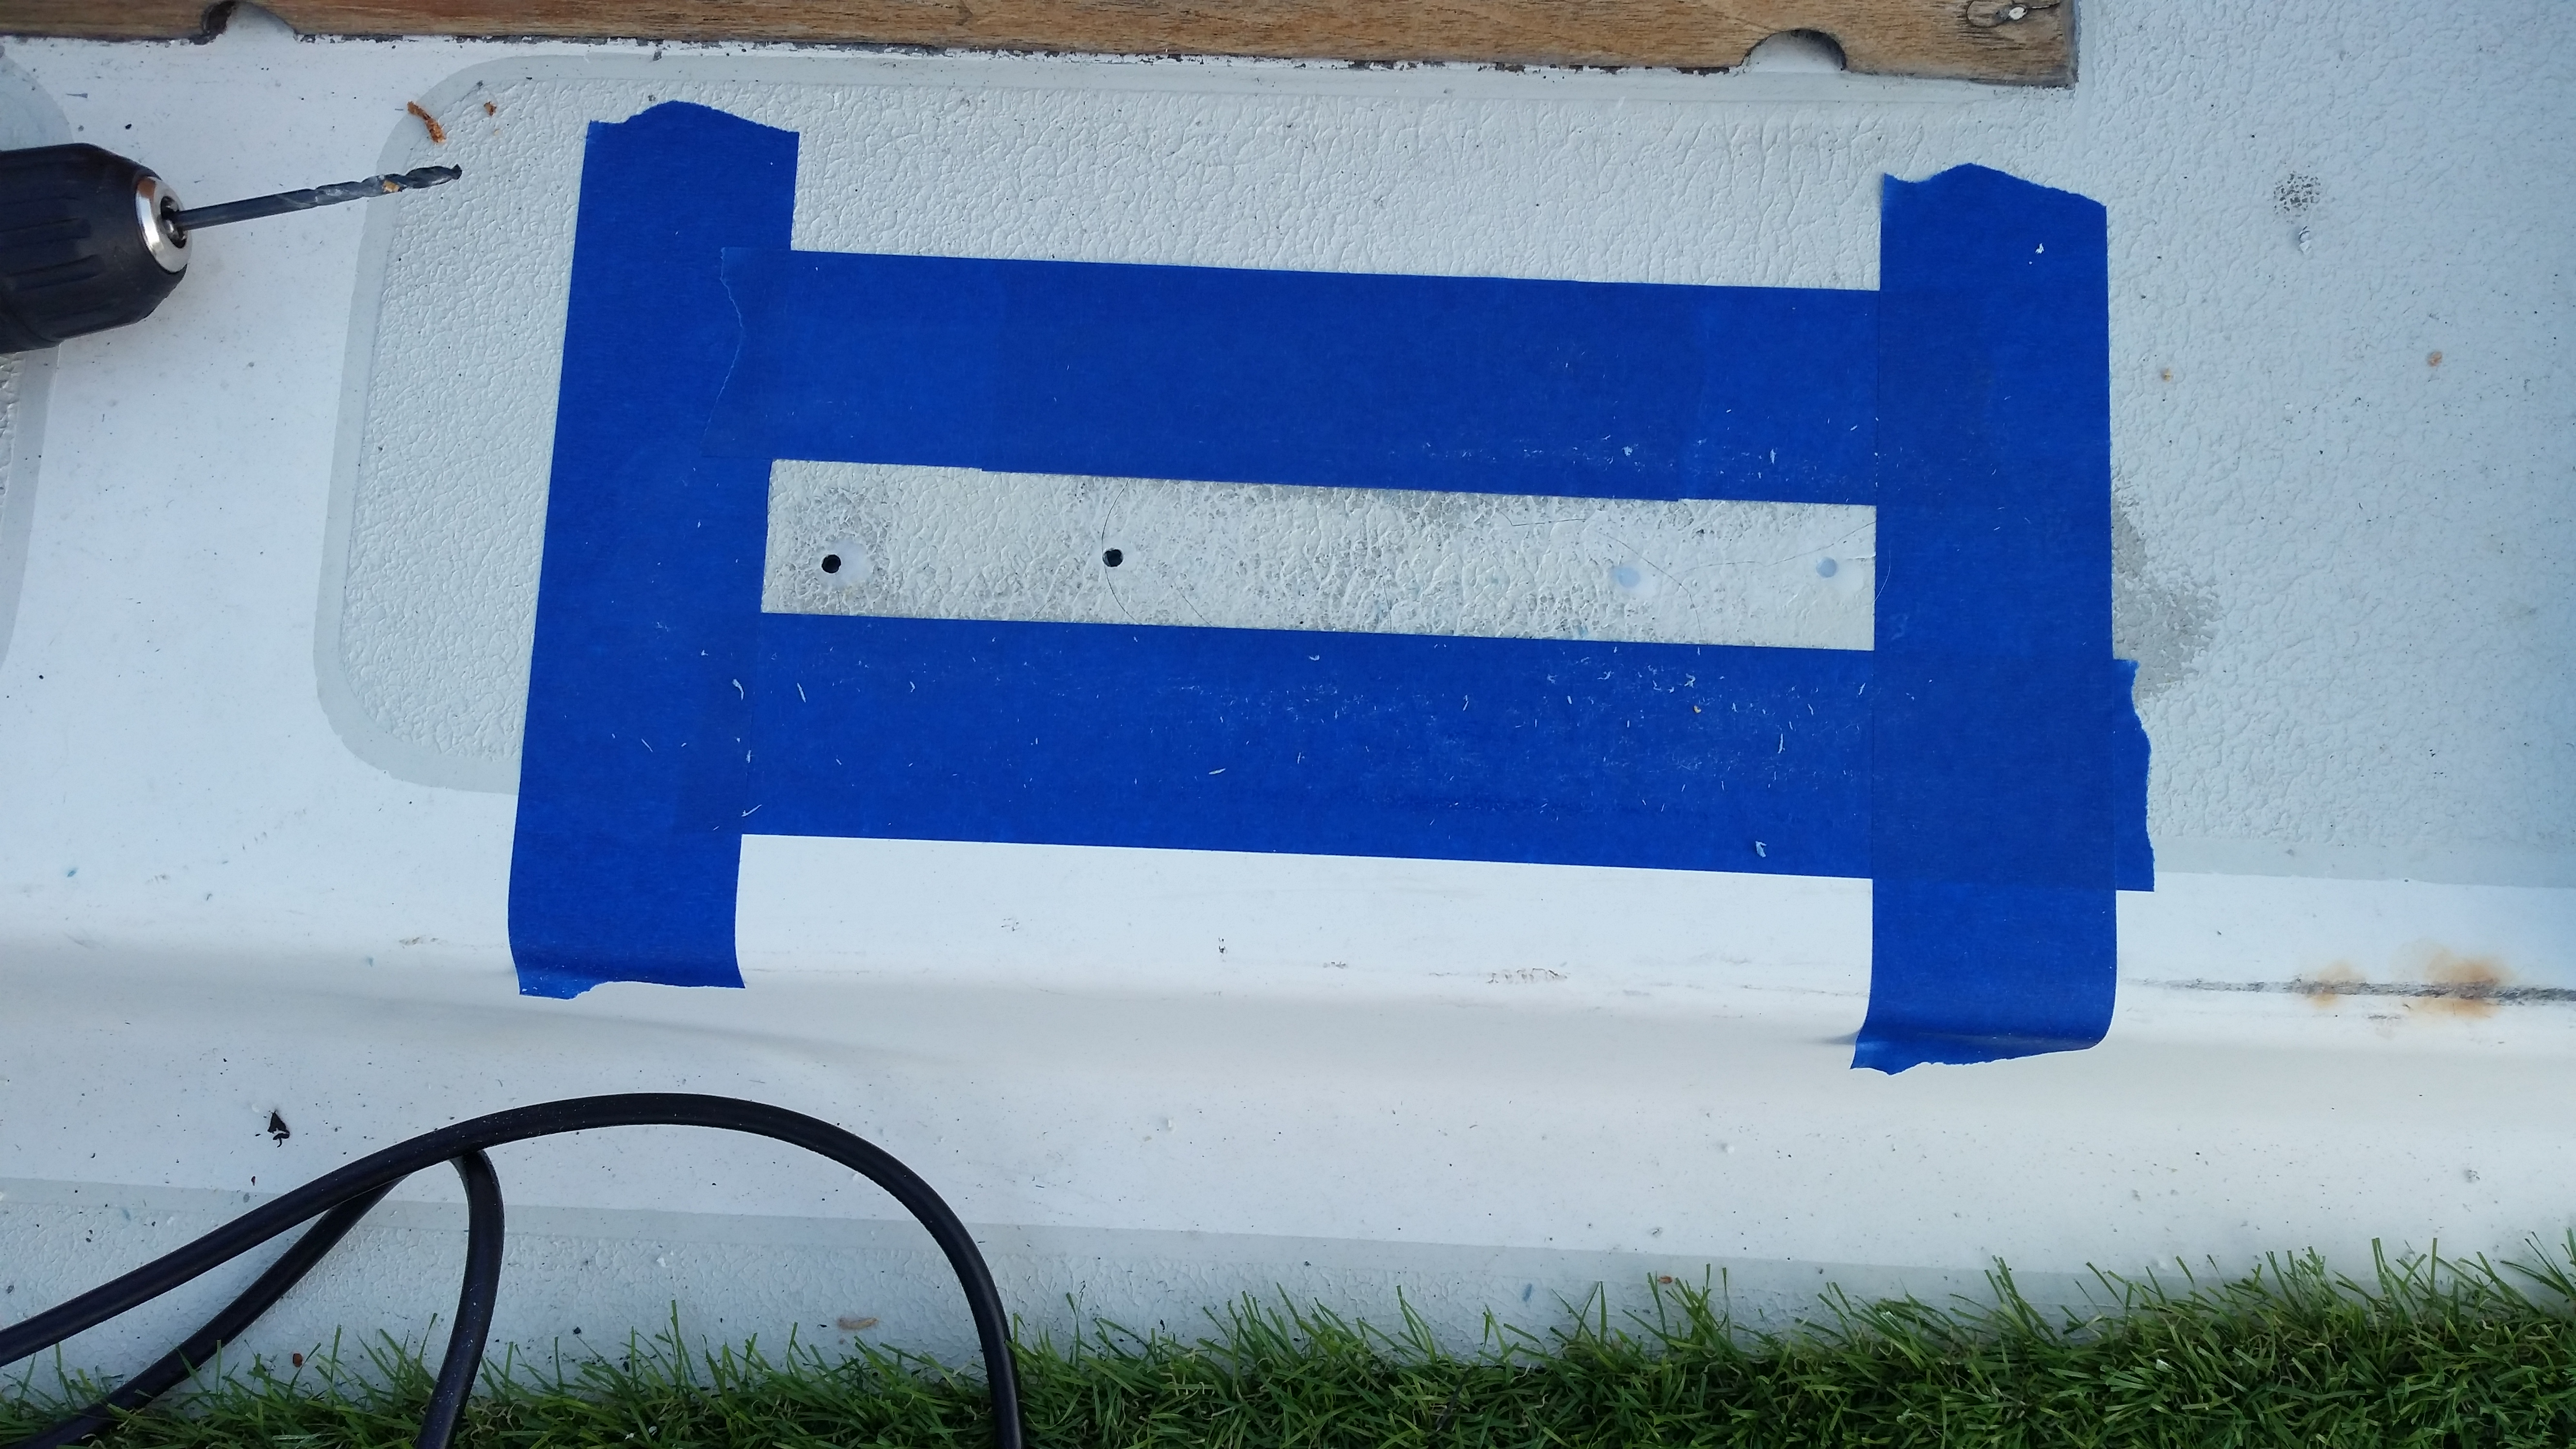
Winch and cleat for genoa furler
We have been using a sort of dinky plastic cleat attached to the pushpit to secure the headsail furling line, and occasionally when furling in higher winds have felt a small winch would be nice to provide a little more control both furling in and out. Knowing we have to be gentle with the furler (you don’t want to reef on these things, if they’re that hard to move then you need to adjust your angle to the wind first), we went with a simple (used) Lewmar 7 (same winch we have on the mast and for the main sheet) and a nice beefy 6″ cleat. Following the now tried and true mounting techniques (drill oversized, drizzle thin epoxy through, fill with thick epoxy, let set, top off with thick epoxy, let set, drill regular size, mount to big backing plates… phew) we were good to go and now have a nice little setup for the furler when needed.

Boarding platform
So we adopted our beloved hound dog before we bought Boundary. And she was very small as a puppy. And then she wasn’t. Now, at 100 pounds, standing on the stern ladder and lifting her in and out of the dinghy seems like a recipe for inevitable disaster. We investigated a swim step (could be quite spendy, mounting is a challenge to get it close enough to water to be useful and still have it be decent width) and still might go that route, but in the meantime we’re going to try a “boarding platform” on the side of the boat. Why the side? Easier, lower access there (no pushpit bars to step over / sling dog under), it’s where Hobie is used to getting on and off the boat at the dock, and it should rock up and down less than the stern. What we have built so far (possibly proof of concept, but possibly the real thing) is a 4′ x 2.5′ platform that is secured in place with lines to various hard points. For the platform we used an aluminum wheelchair ramp (800 pound capacity, weighs 22 pounds, no way no how we could build something to those specs) and high capacity / low stretch line. So far in tests Bass has done (Hobie was not along on this trip) it seems surprisingly stable, so it just might work!
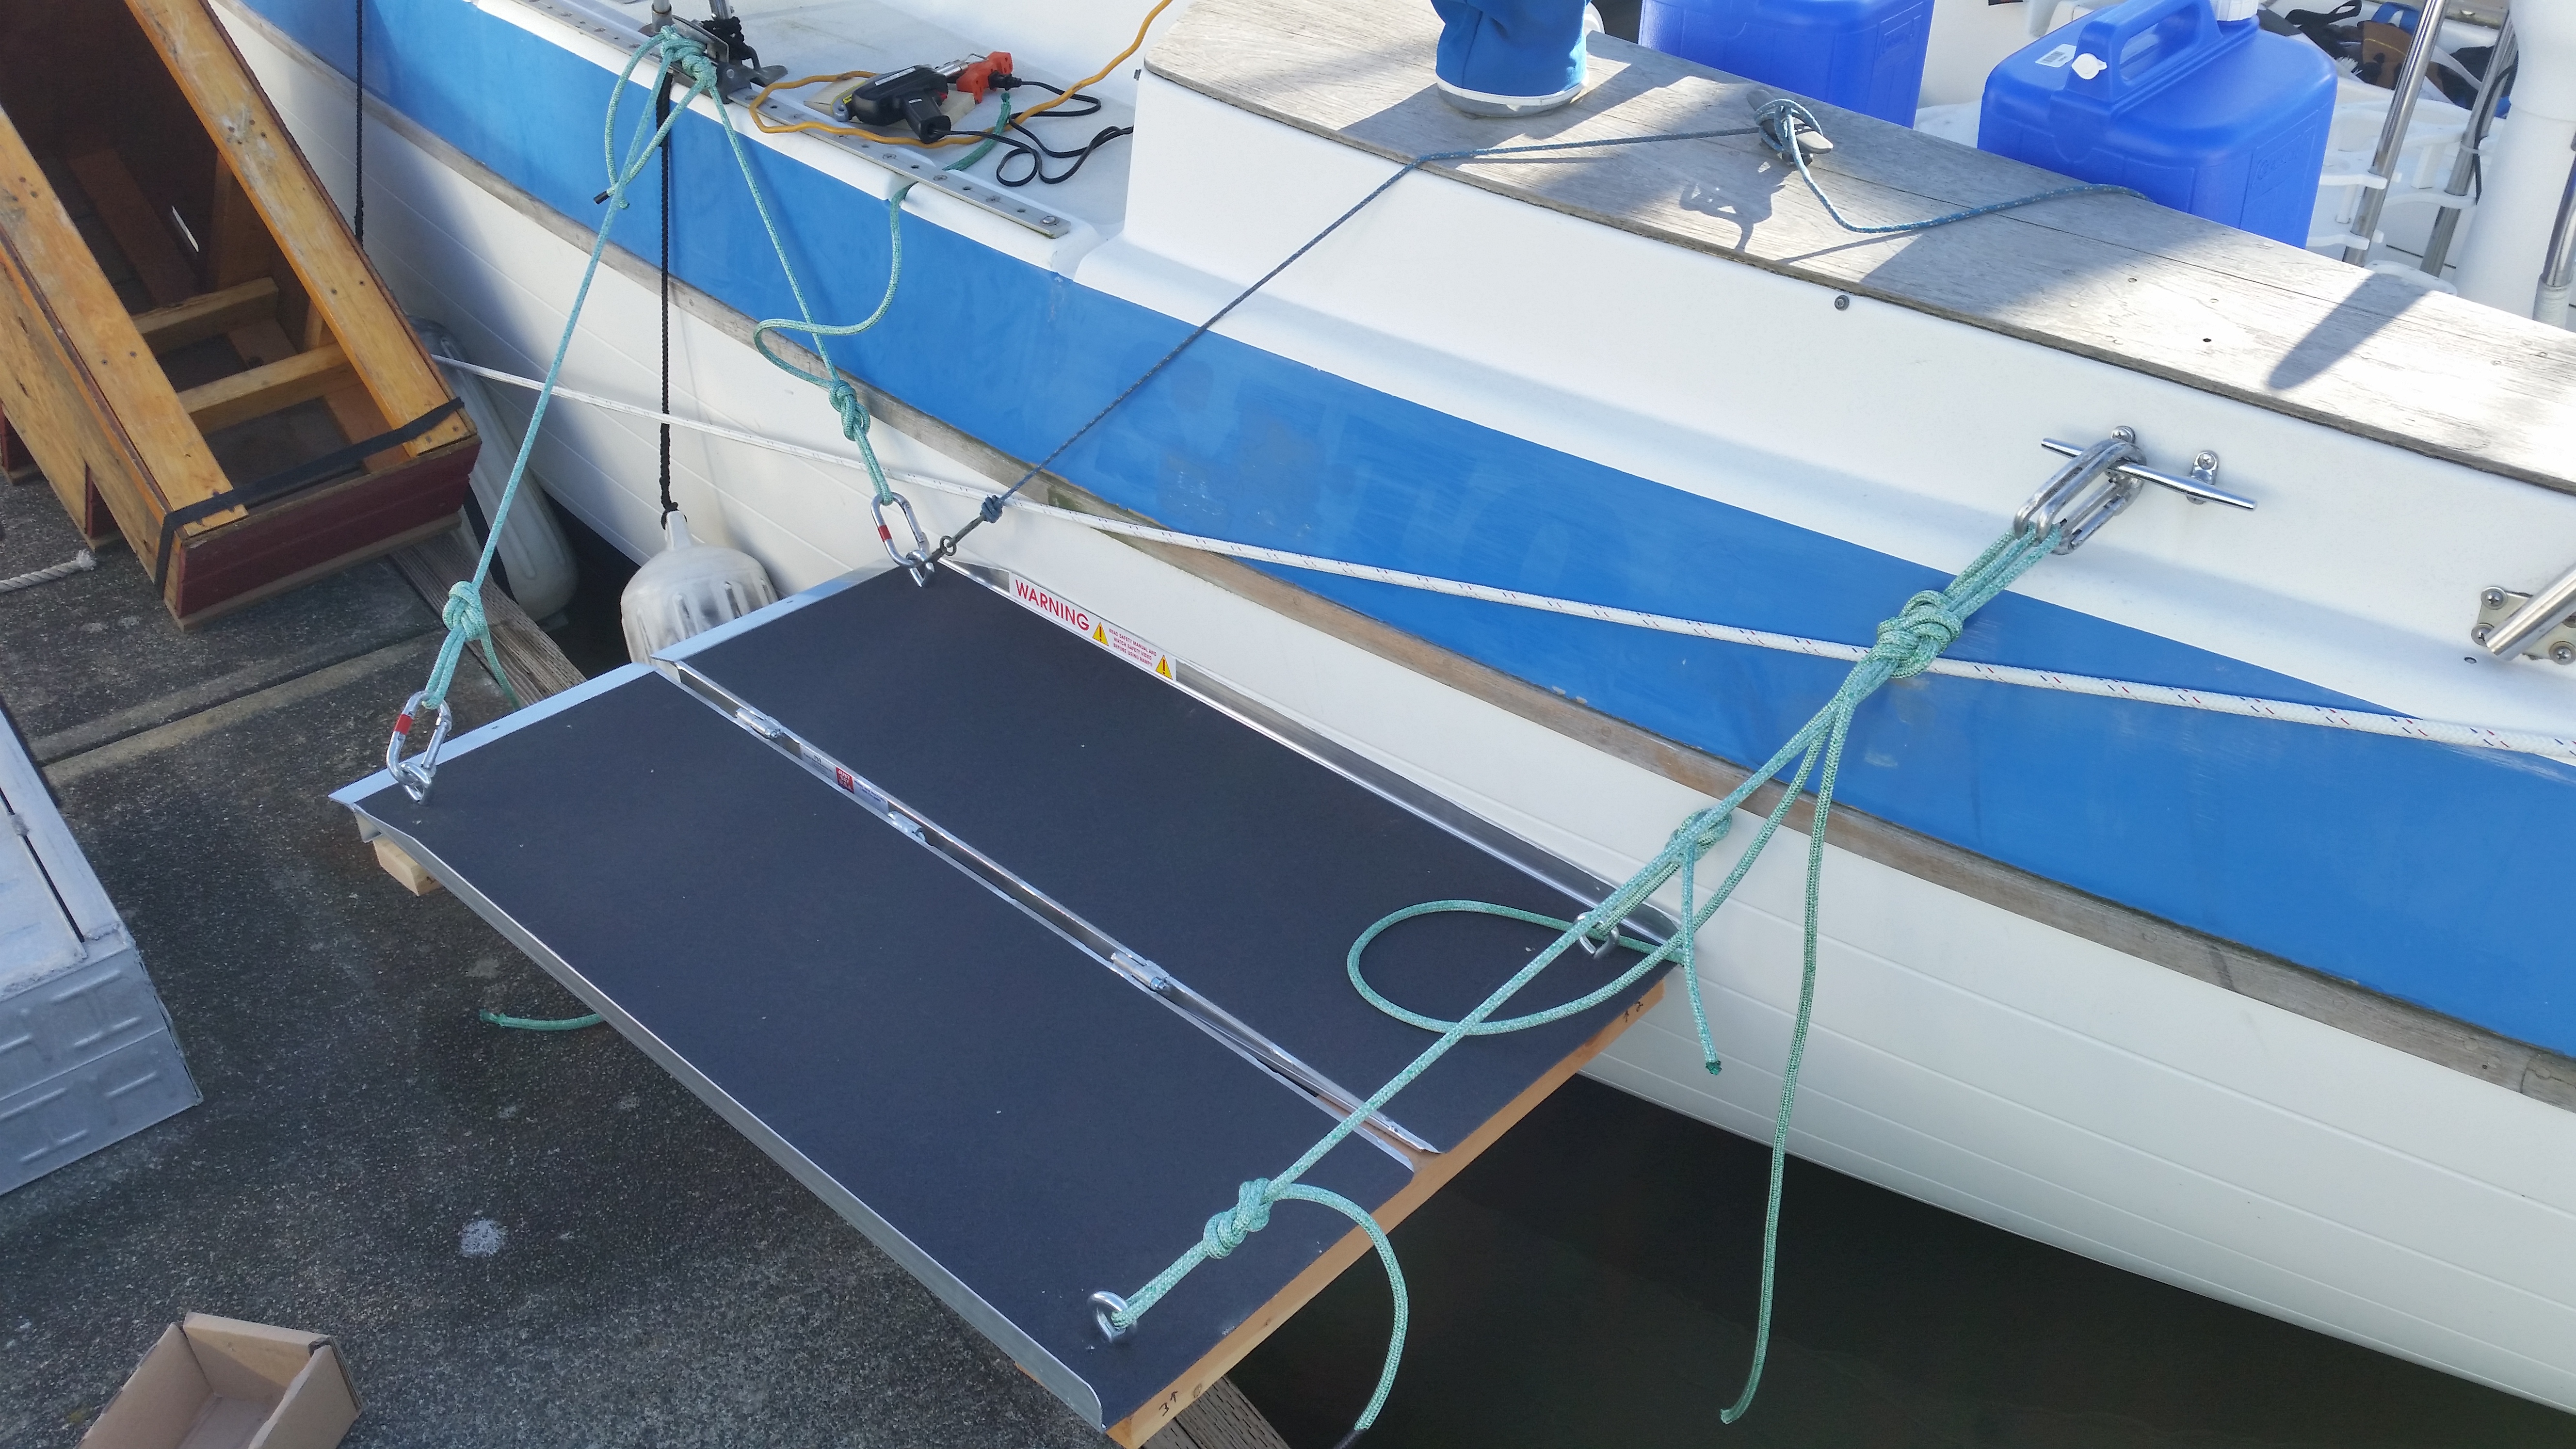
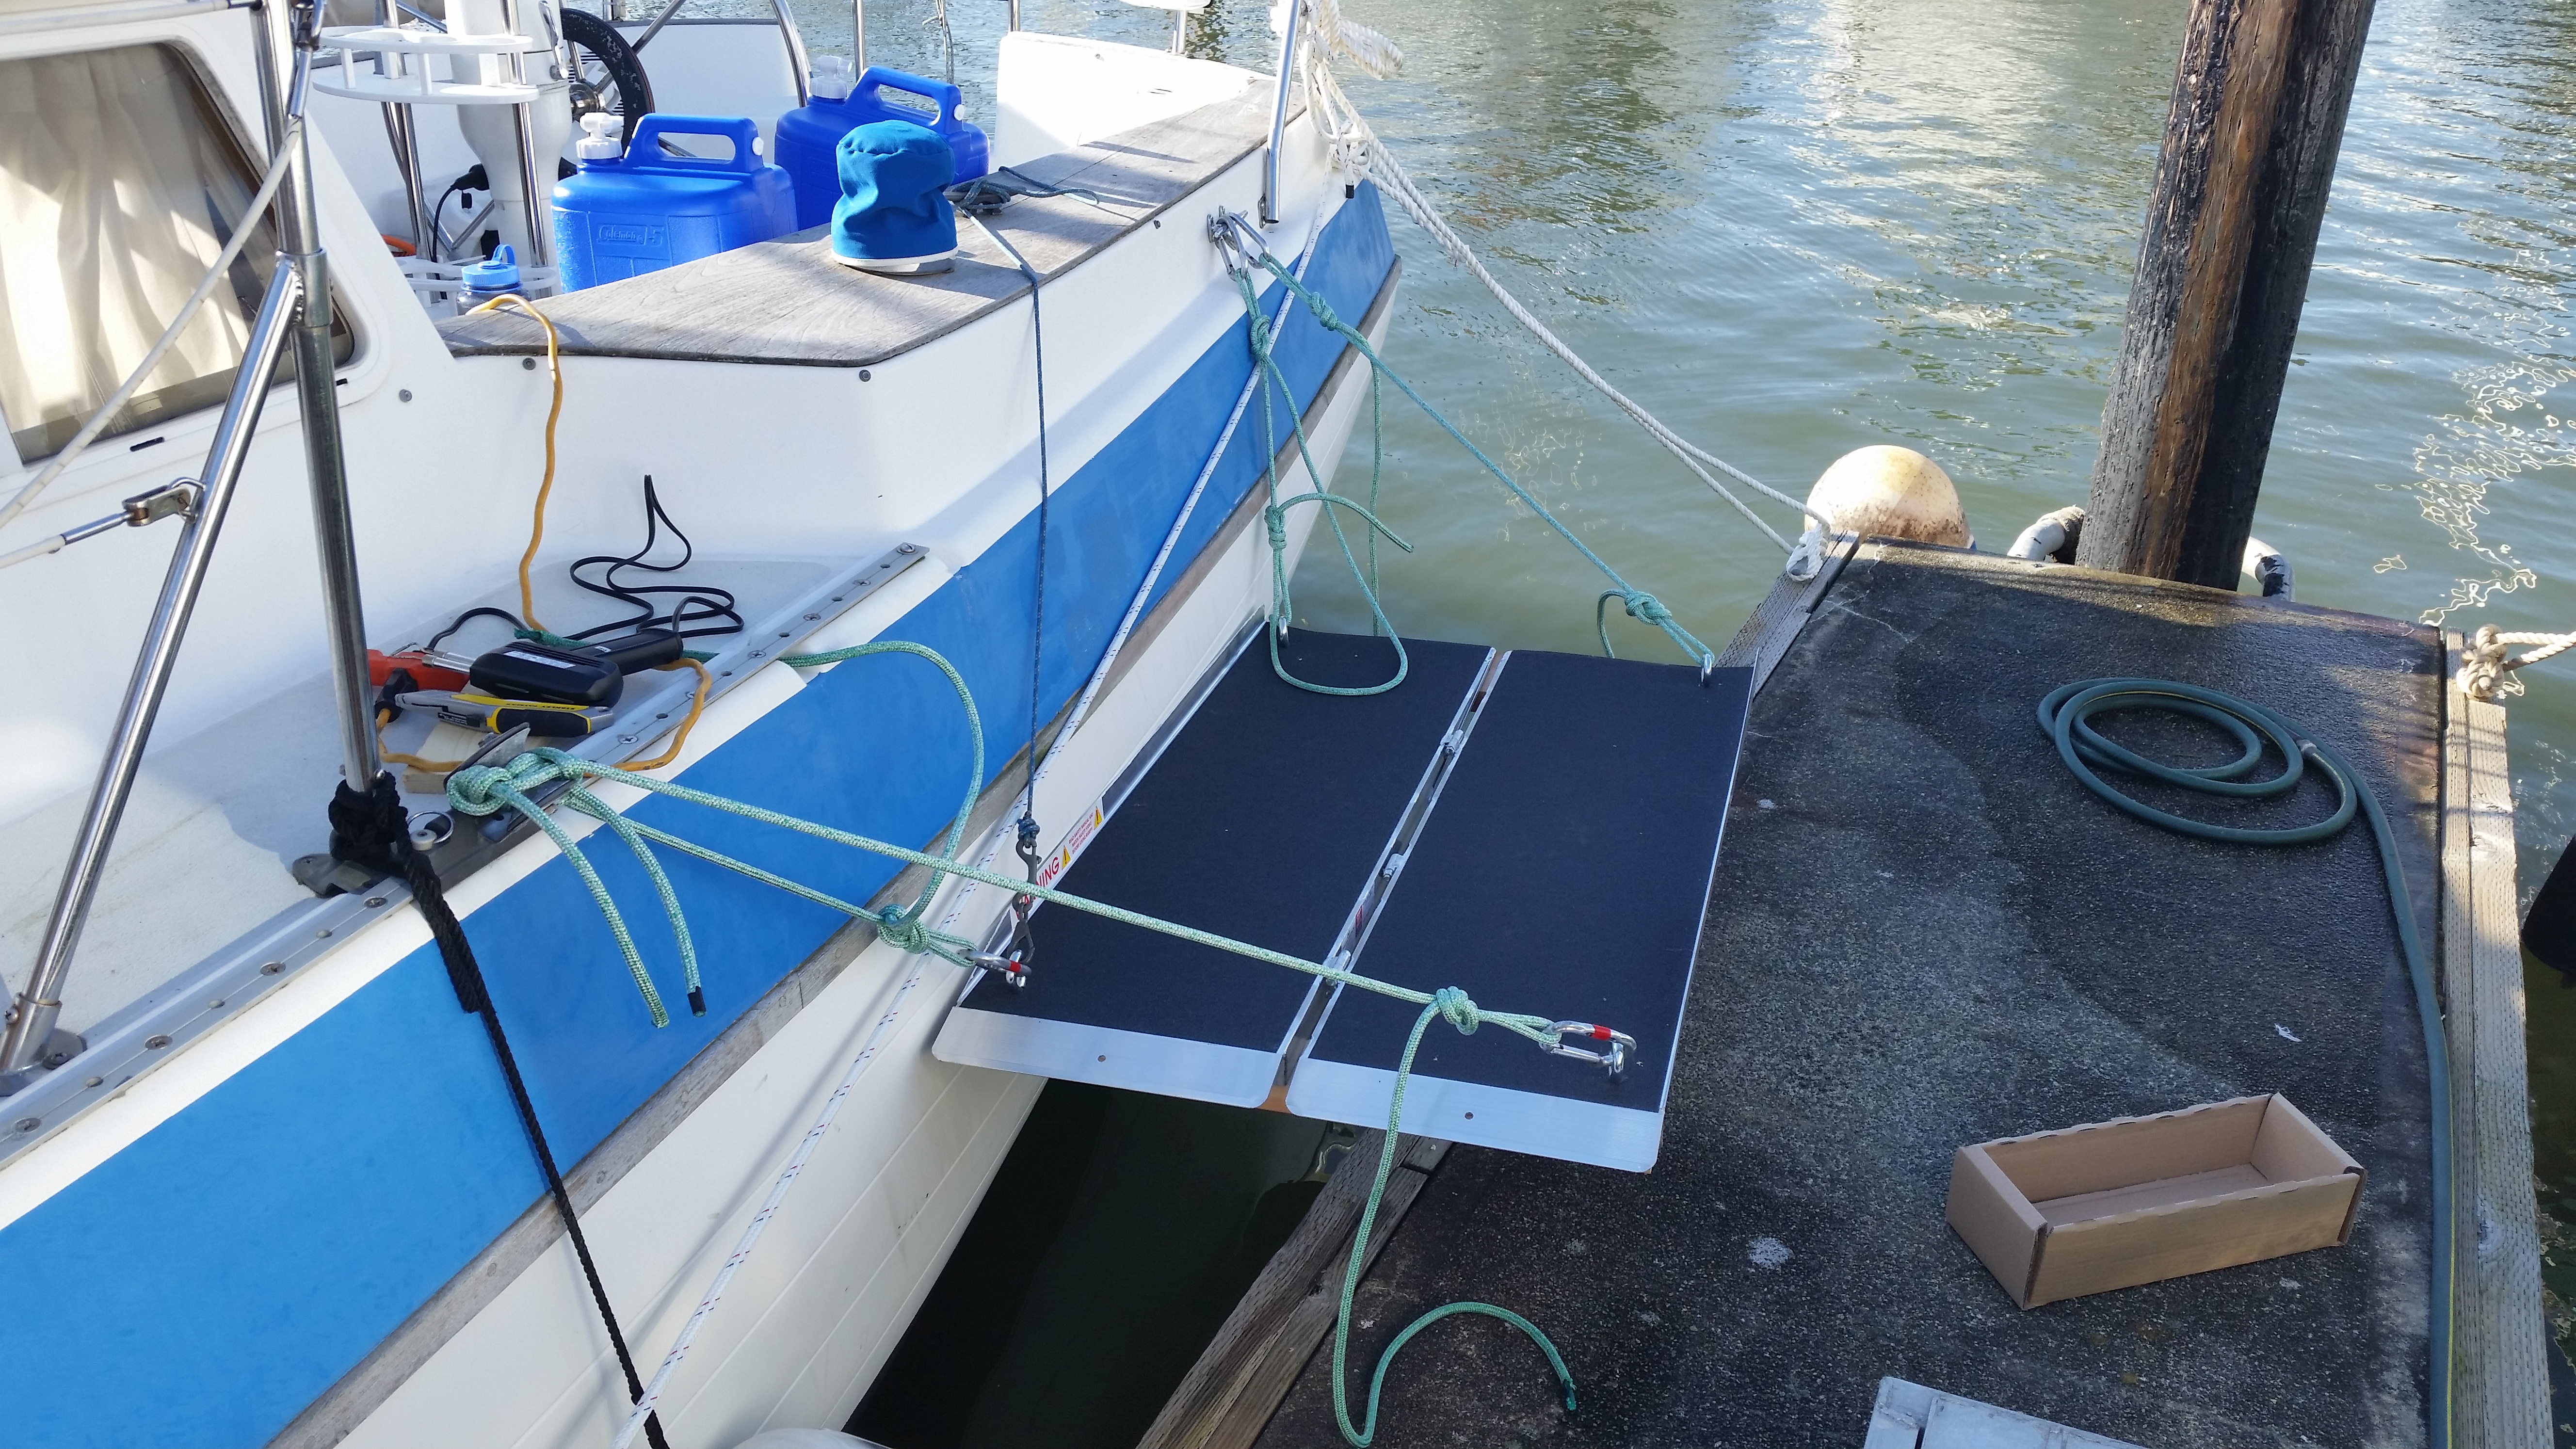
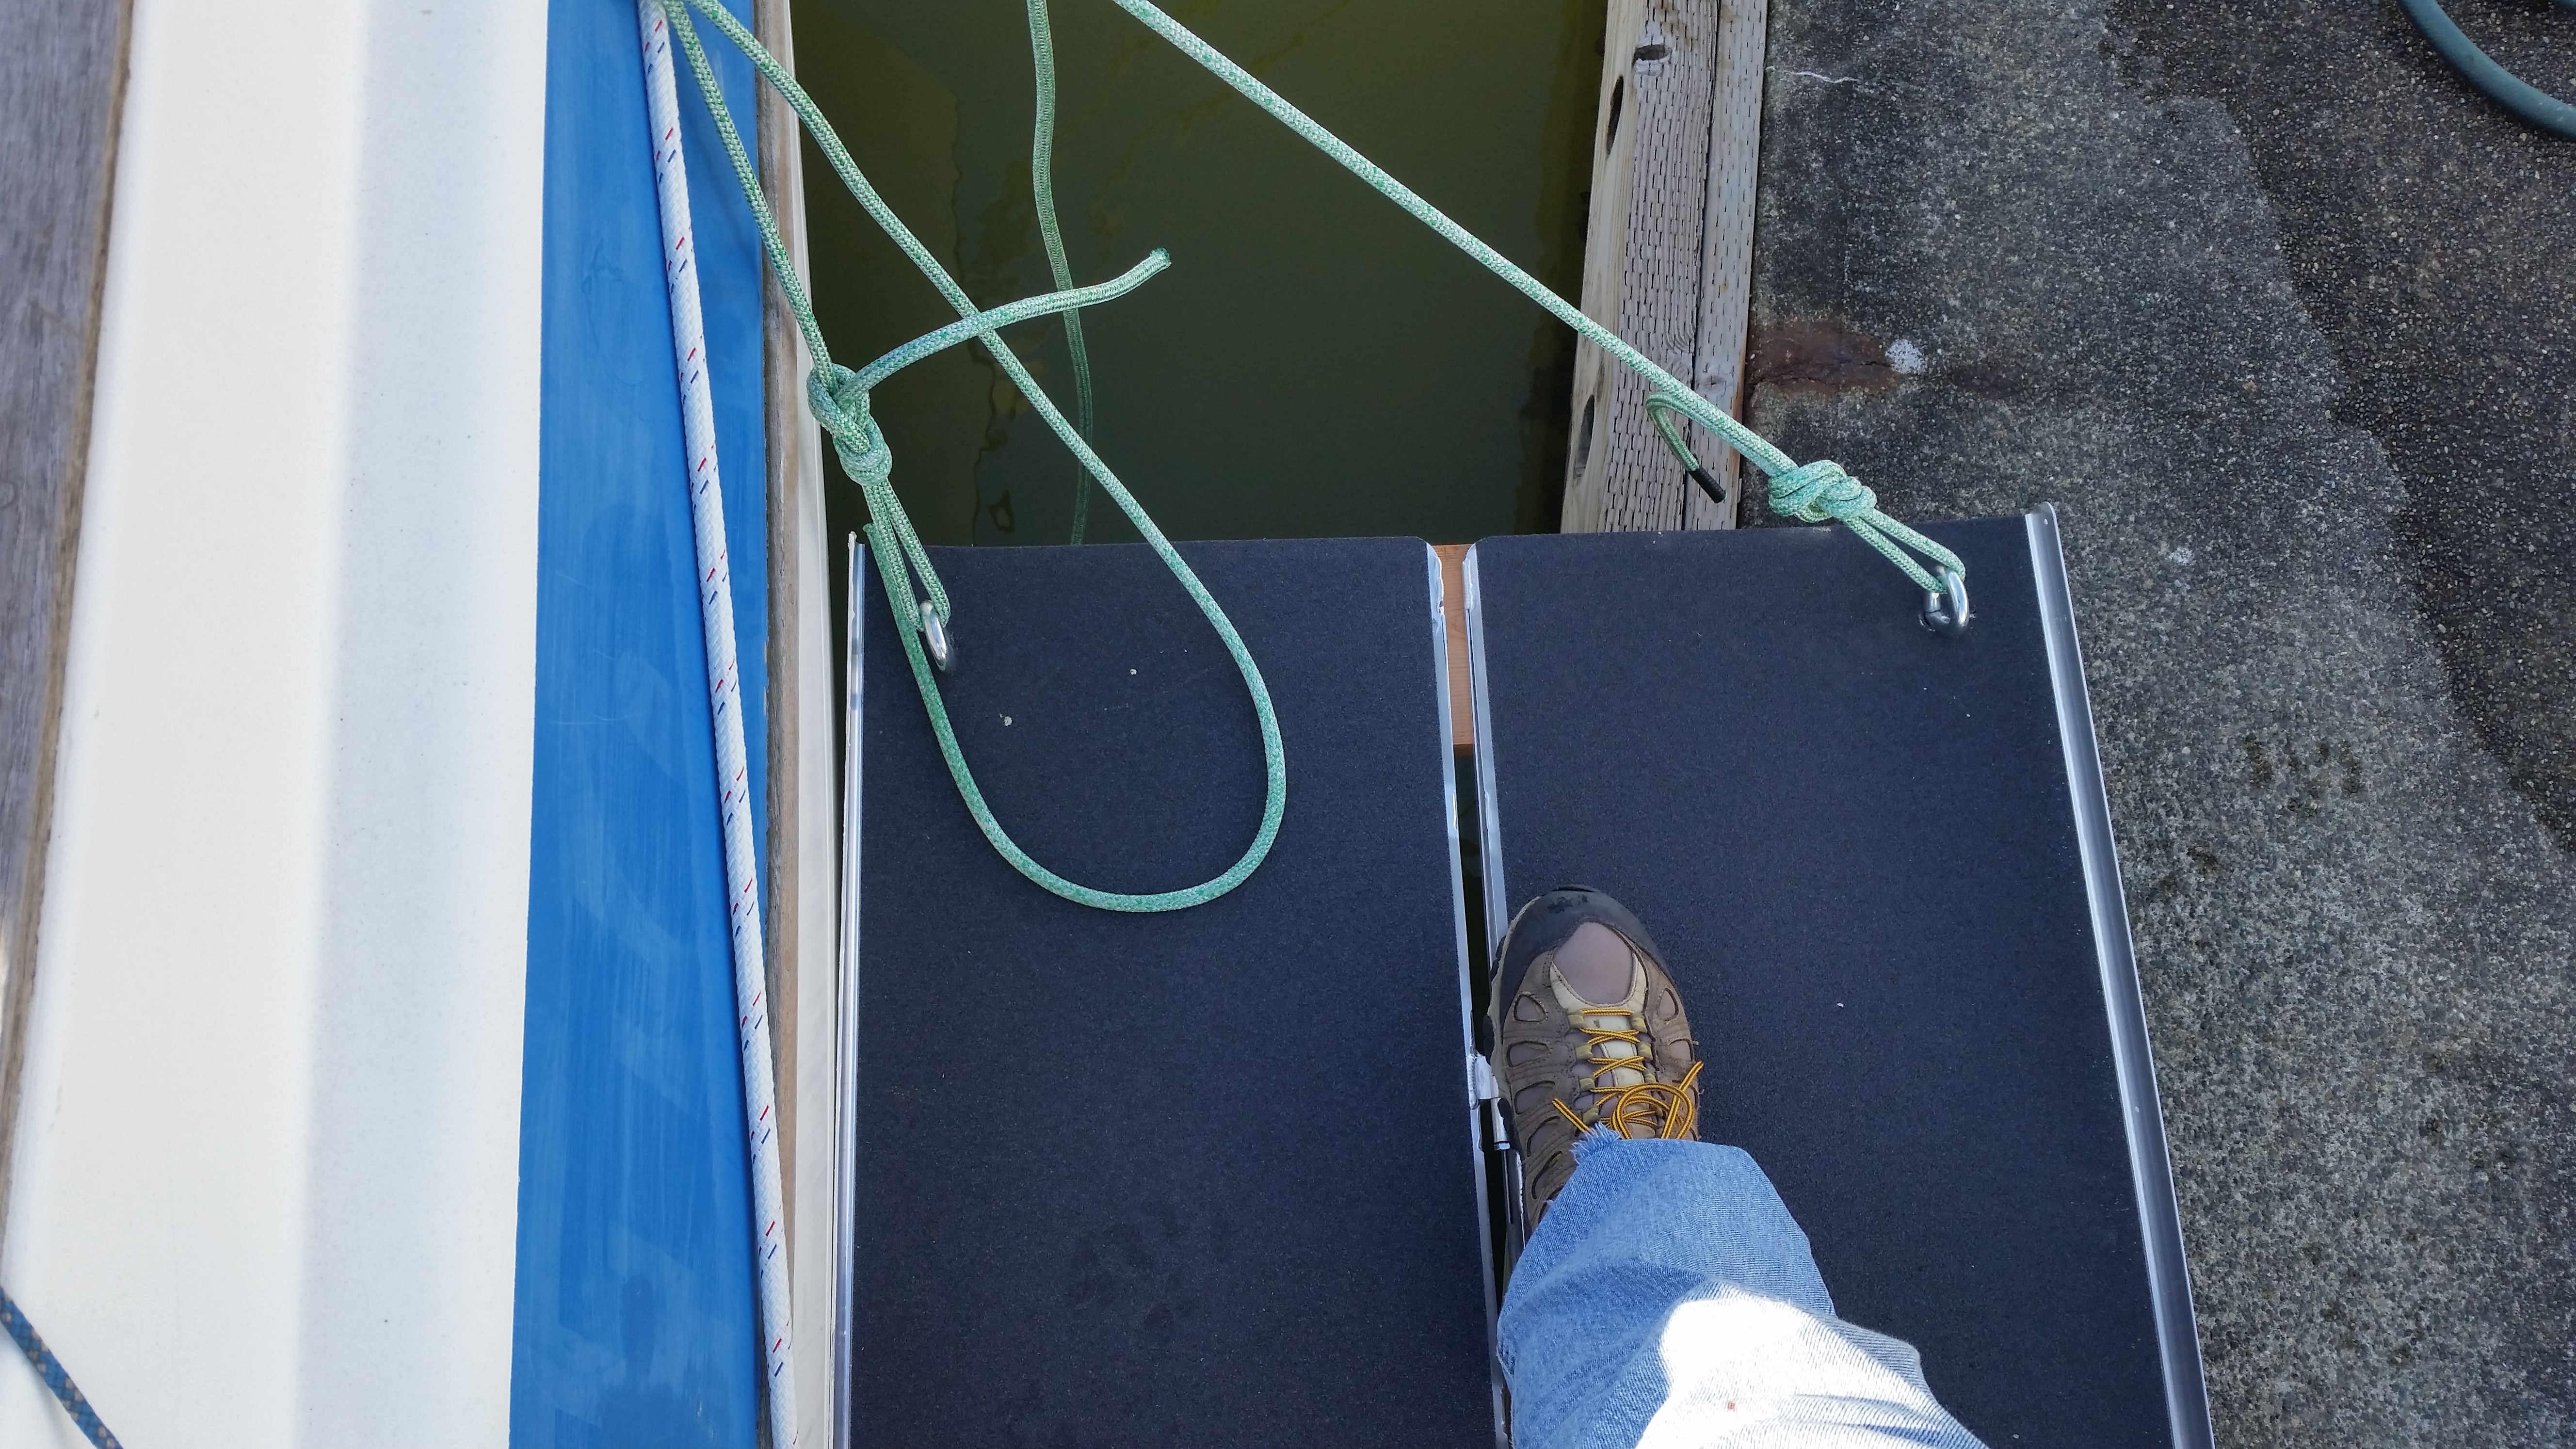
(Full disclosure: I did still take my phone out of my pocket and my sunglasses off my head before my first test “step”!).
Lots of other little projects, both on the hard and in the water. In no particular order:
- lube the seavalves on all 5 through hulls
- hadn’t done this before, best I could come up with was to remove the drain plug and use a syringe to inject Teflon grease in there then exercise the valves… future project may involve replacing the drain plugs with grease zircs so I can just use a grease gun even while boat is in the water
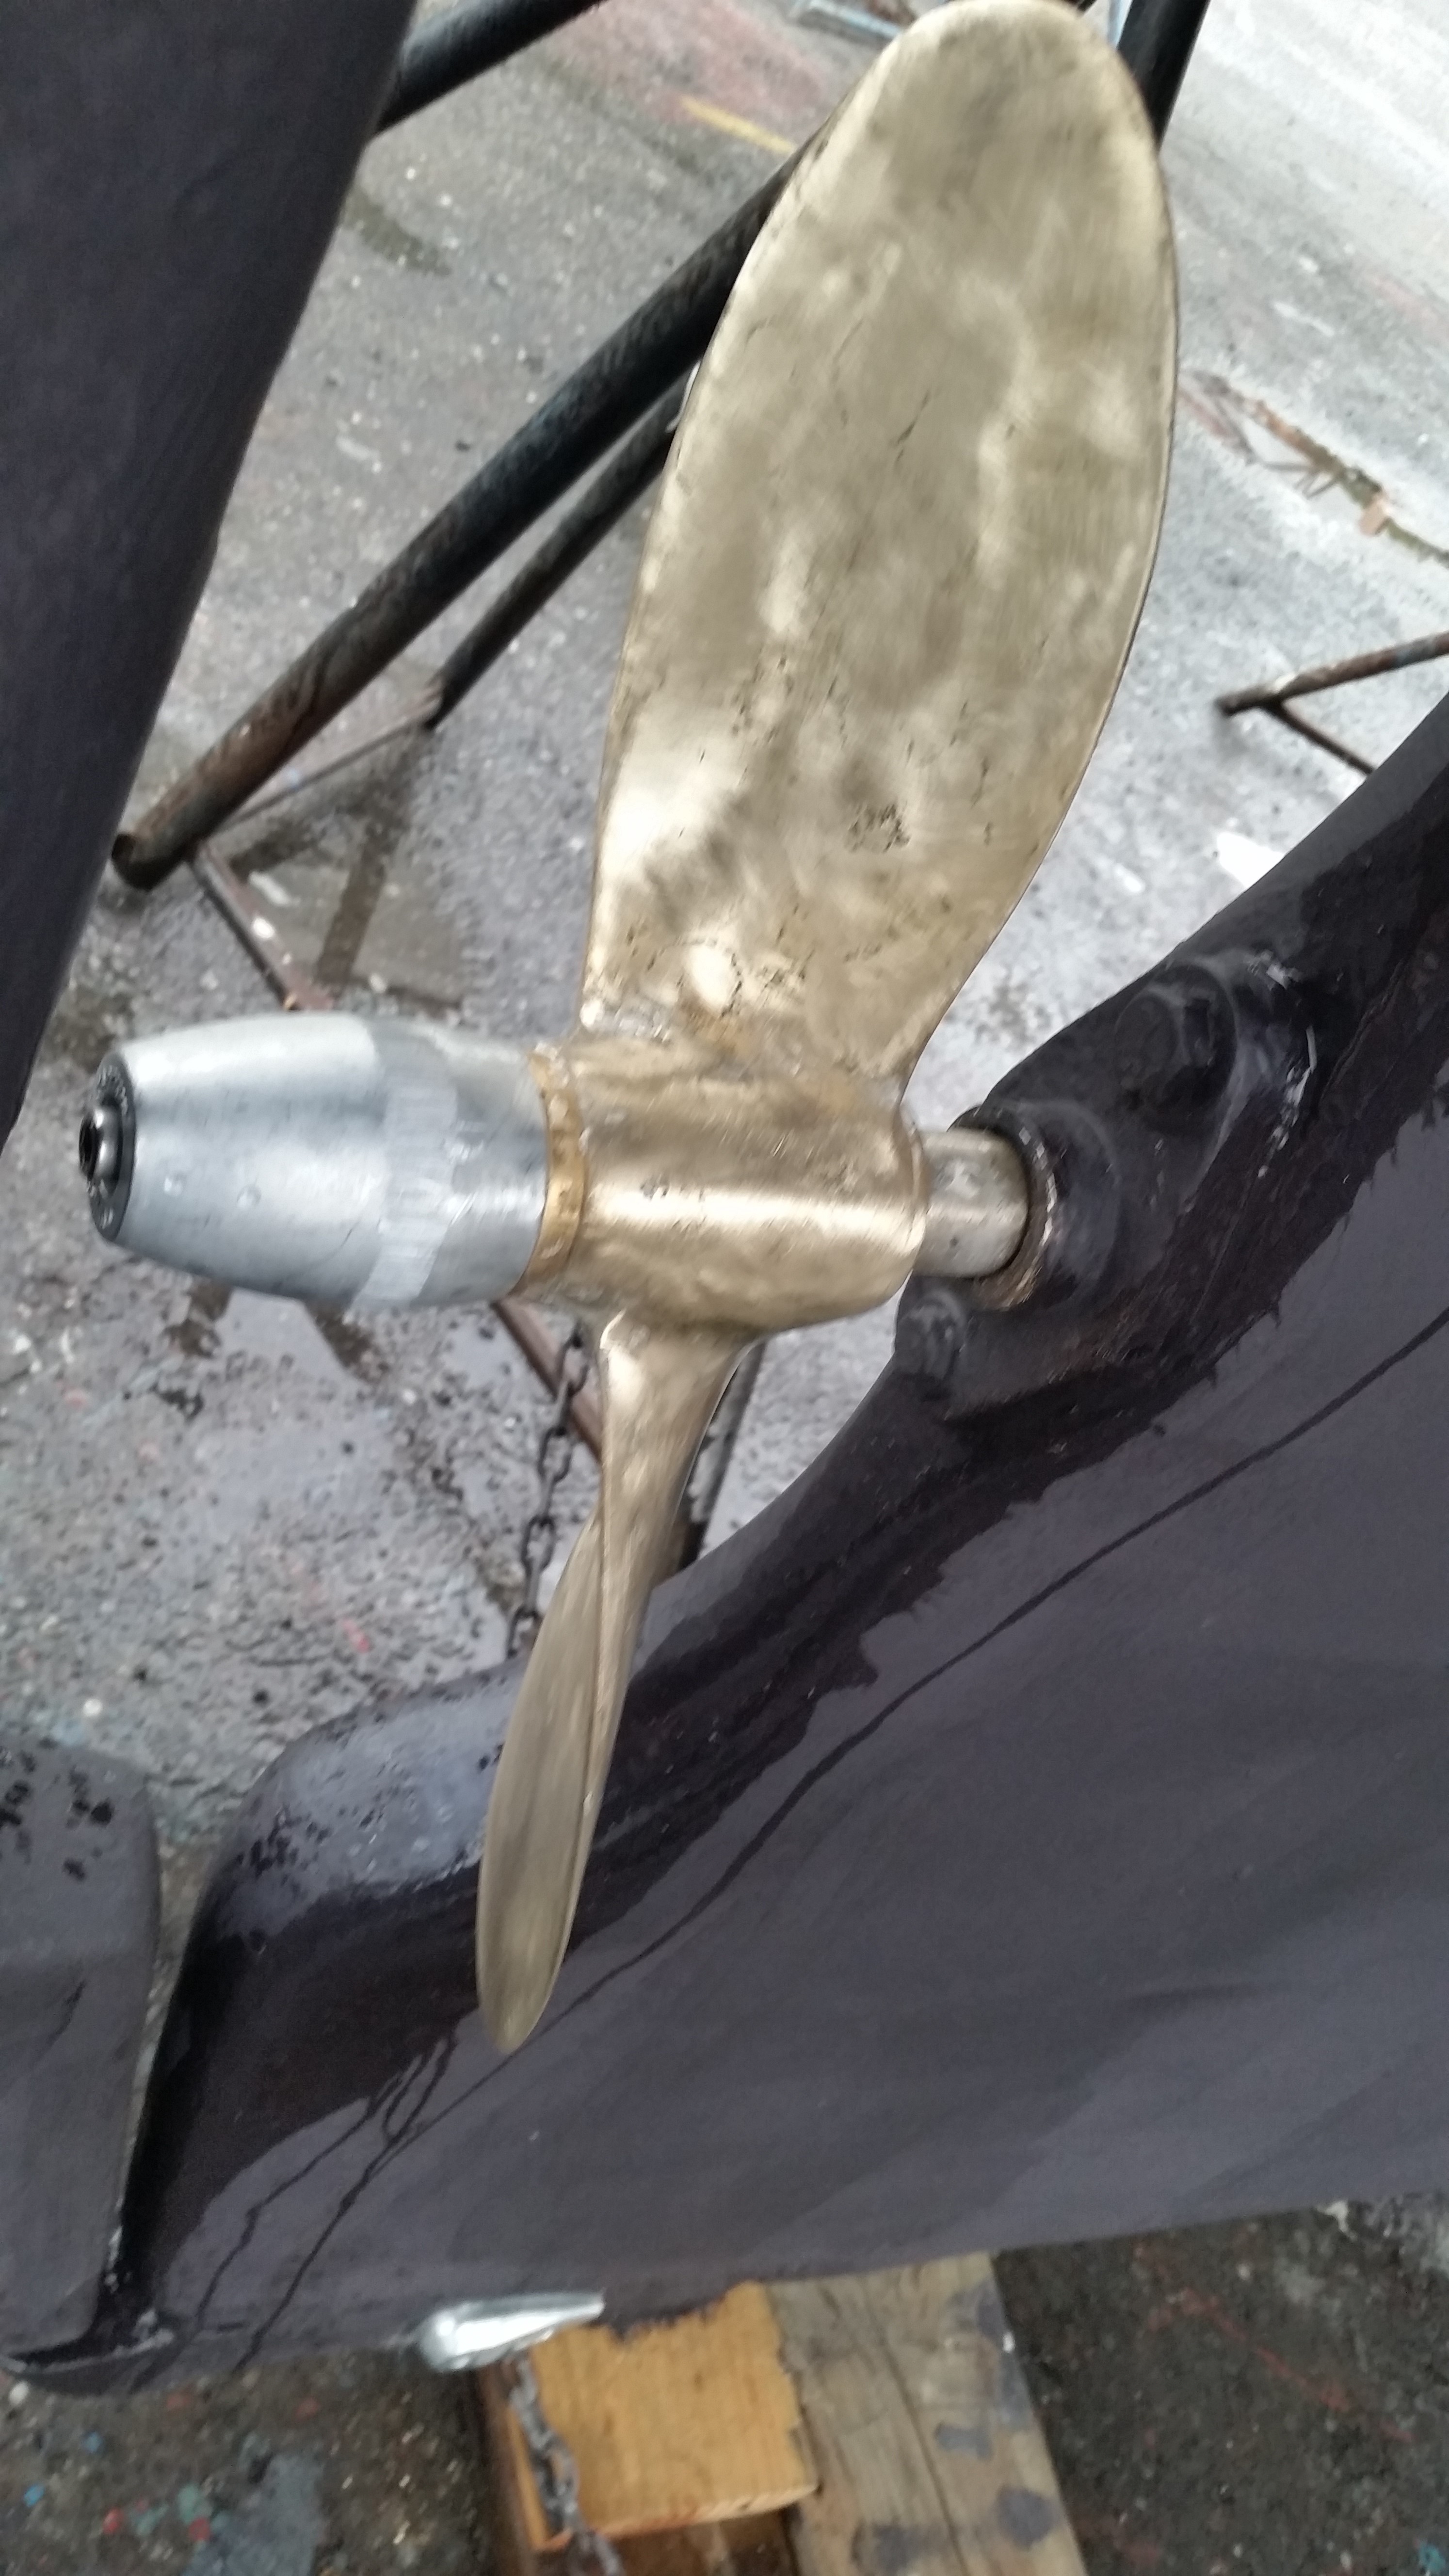
- polish propeller
- really wasn’t in bad shape, but keeping it as shiny as possible should keep the growth down

Prop zinc and polished prop
- really wasn’t in bad shape, but keeping it as shiny as possible should keep the growth down
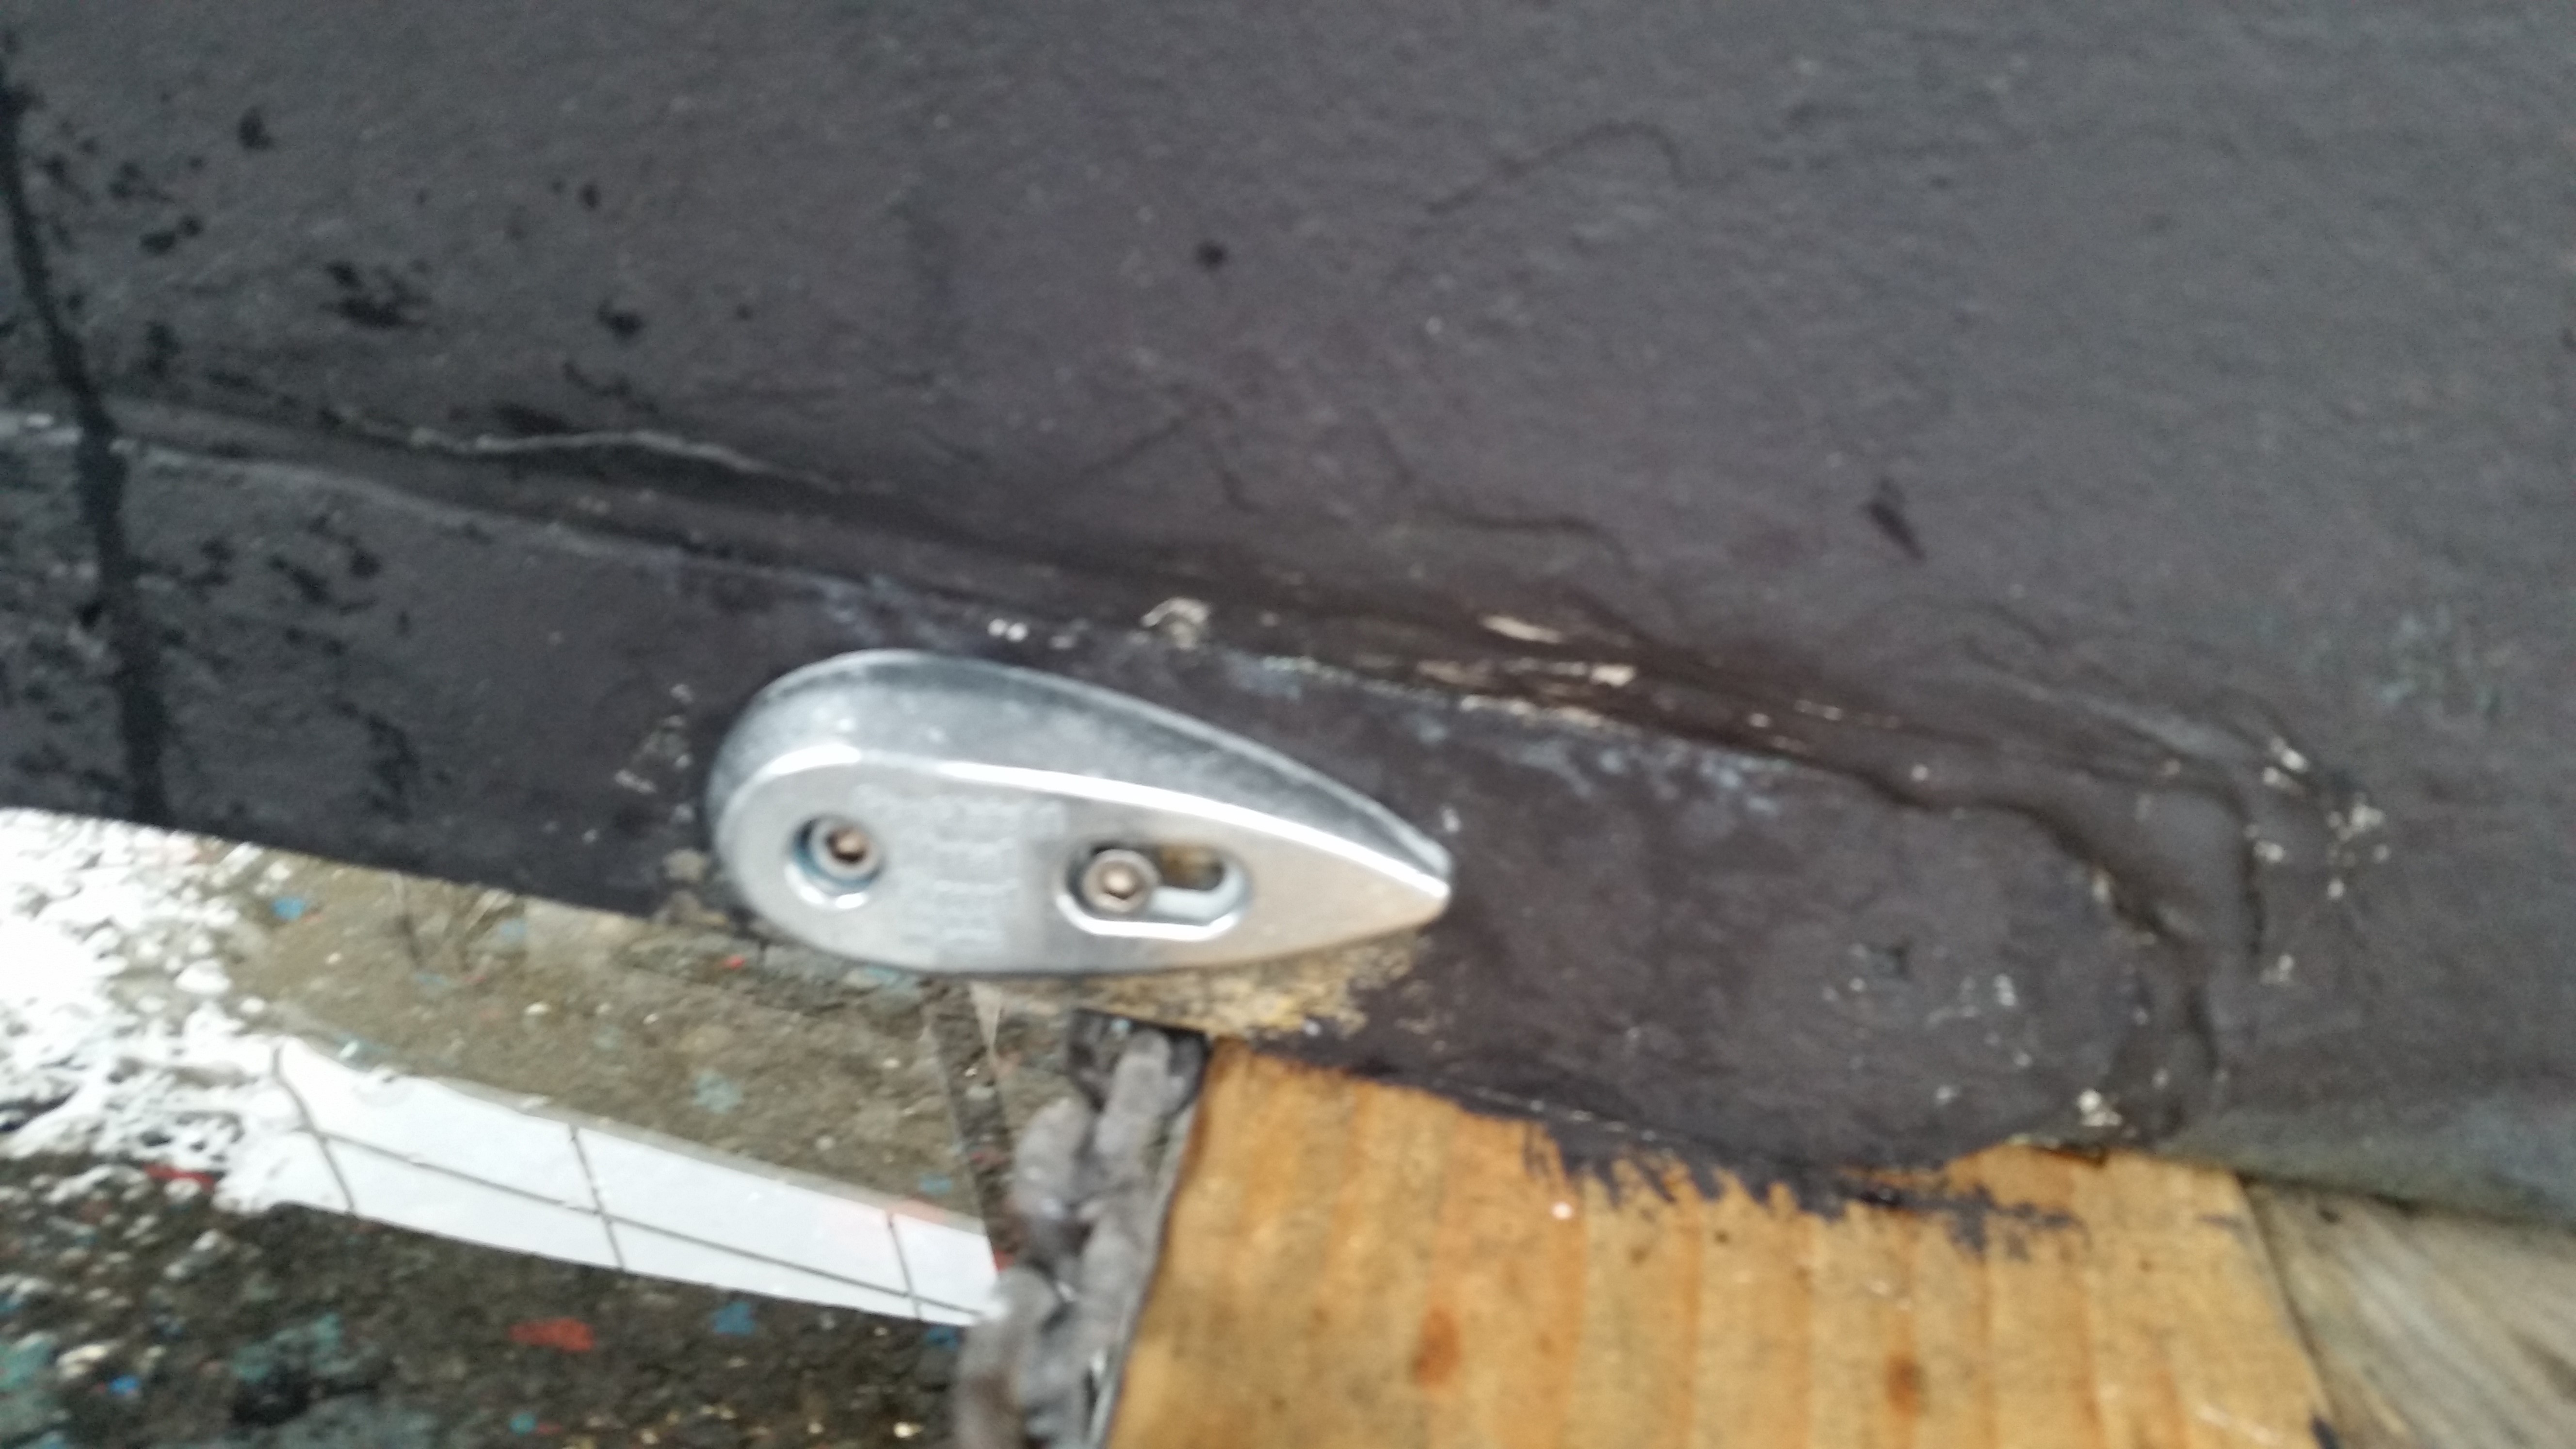
- change out the zincs on the prop shaft and the rudder foot
- everything underwater looks good, and the zincs seem to be good on a 6 month replacement schedule. We also drilled and tapped the bolts on the rudder foot zinc to be bigger and allen head, easier for the diver… gotta keep the diver happy.
Prop zinc and polished prop 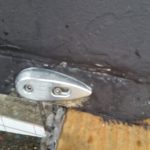
Rudder foot zinc
- everything underwater looks good, and the zincs seem to be good on a 6 month replacement schedule. We also drilled and tapped the bolts on the rudder foot zinc to be bigger and allen head, easier for the diver… gotta keep the diver happy.
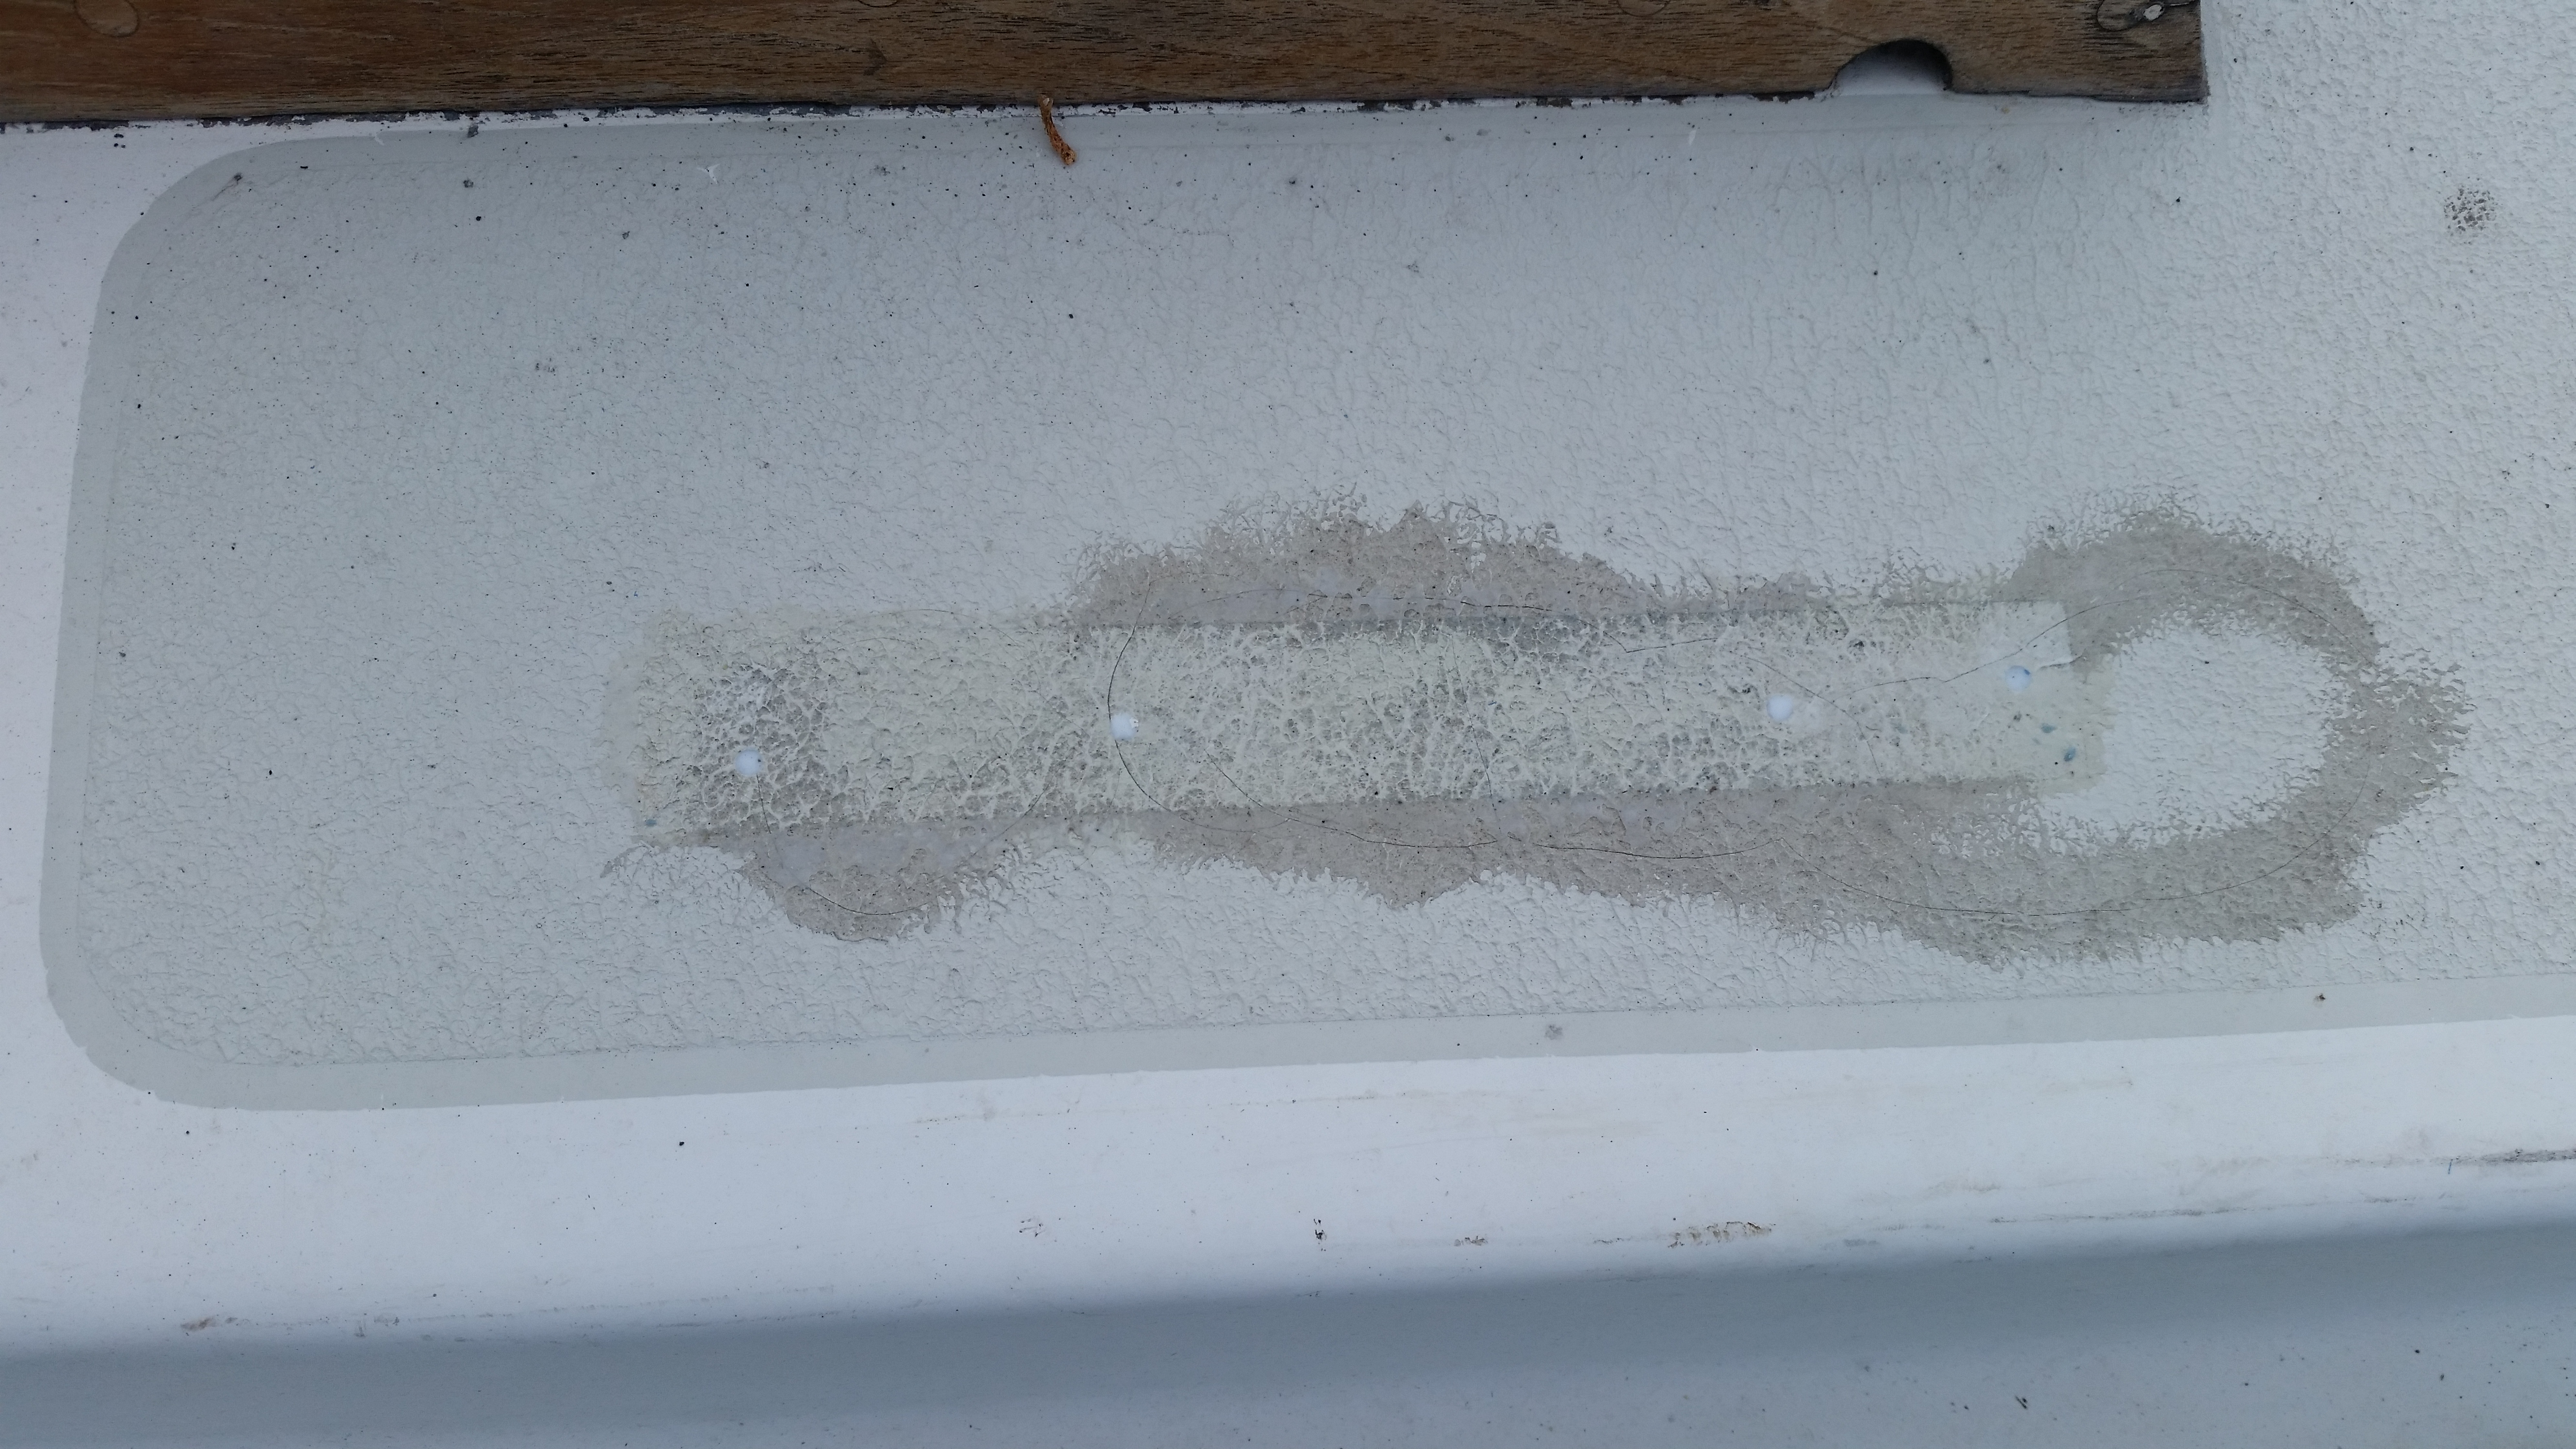
- epoxy inject an area of core delamination in front of the forward hatch
- surveyor pointed this out to us and we kept getting put off. It appeared to be small area of delaminated core in the cabin top… yes, the “right” thing to do is a full core repair, but it didn’t show any moisture on the surveyor’s meter so hopefully it was “dry”… when I asked the surveyor what he would do to it he said “epoxy inject it and go sailing”, so that’s what we did. Sure took plenty of epoxy though… caused a few anxious runs below to make sure epoxy wasn’t drooling out of the headliner somewhere in the v-berth!
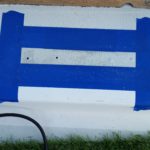
Epoxy injection 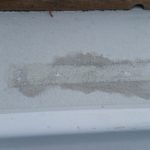
Epoxy injection
- surveyor pointed this out to us and we kept getting put off. It appeared to be small area of delaminated core in the cabin top… yes, the “right” thing to do is a full core repair, but it didn’t show any moisture on the surveyor’s meter so hopefully it was “dry”… when I asked the surveyor what he would do to it he said “epoxy inject it and go sailing”, so that’s what we did. Sure took plenty of epoxy though… caused a few anxious runs below to make sure epoxy wasn’t drooling out of the headliner somewhere in the v-berth!
- install bilge pump alarm
- simple install of small alarm that runs every time the bilge pump runs… this will hopefully alert us even if we’re in the cockpit and motoring if something starts to go wrong and the bilge pump starts running.
- service (remove all old funky grease, clean, replace pawl springs, grease and oil) mast winches and the main sheet winch
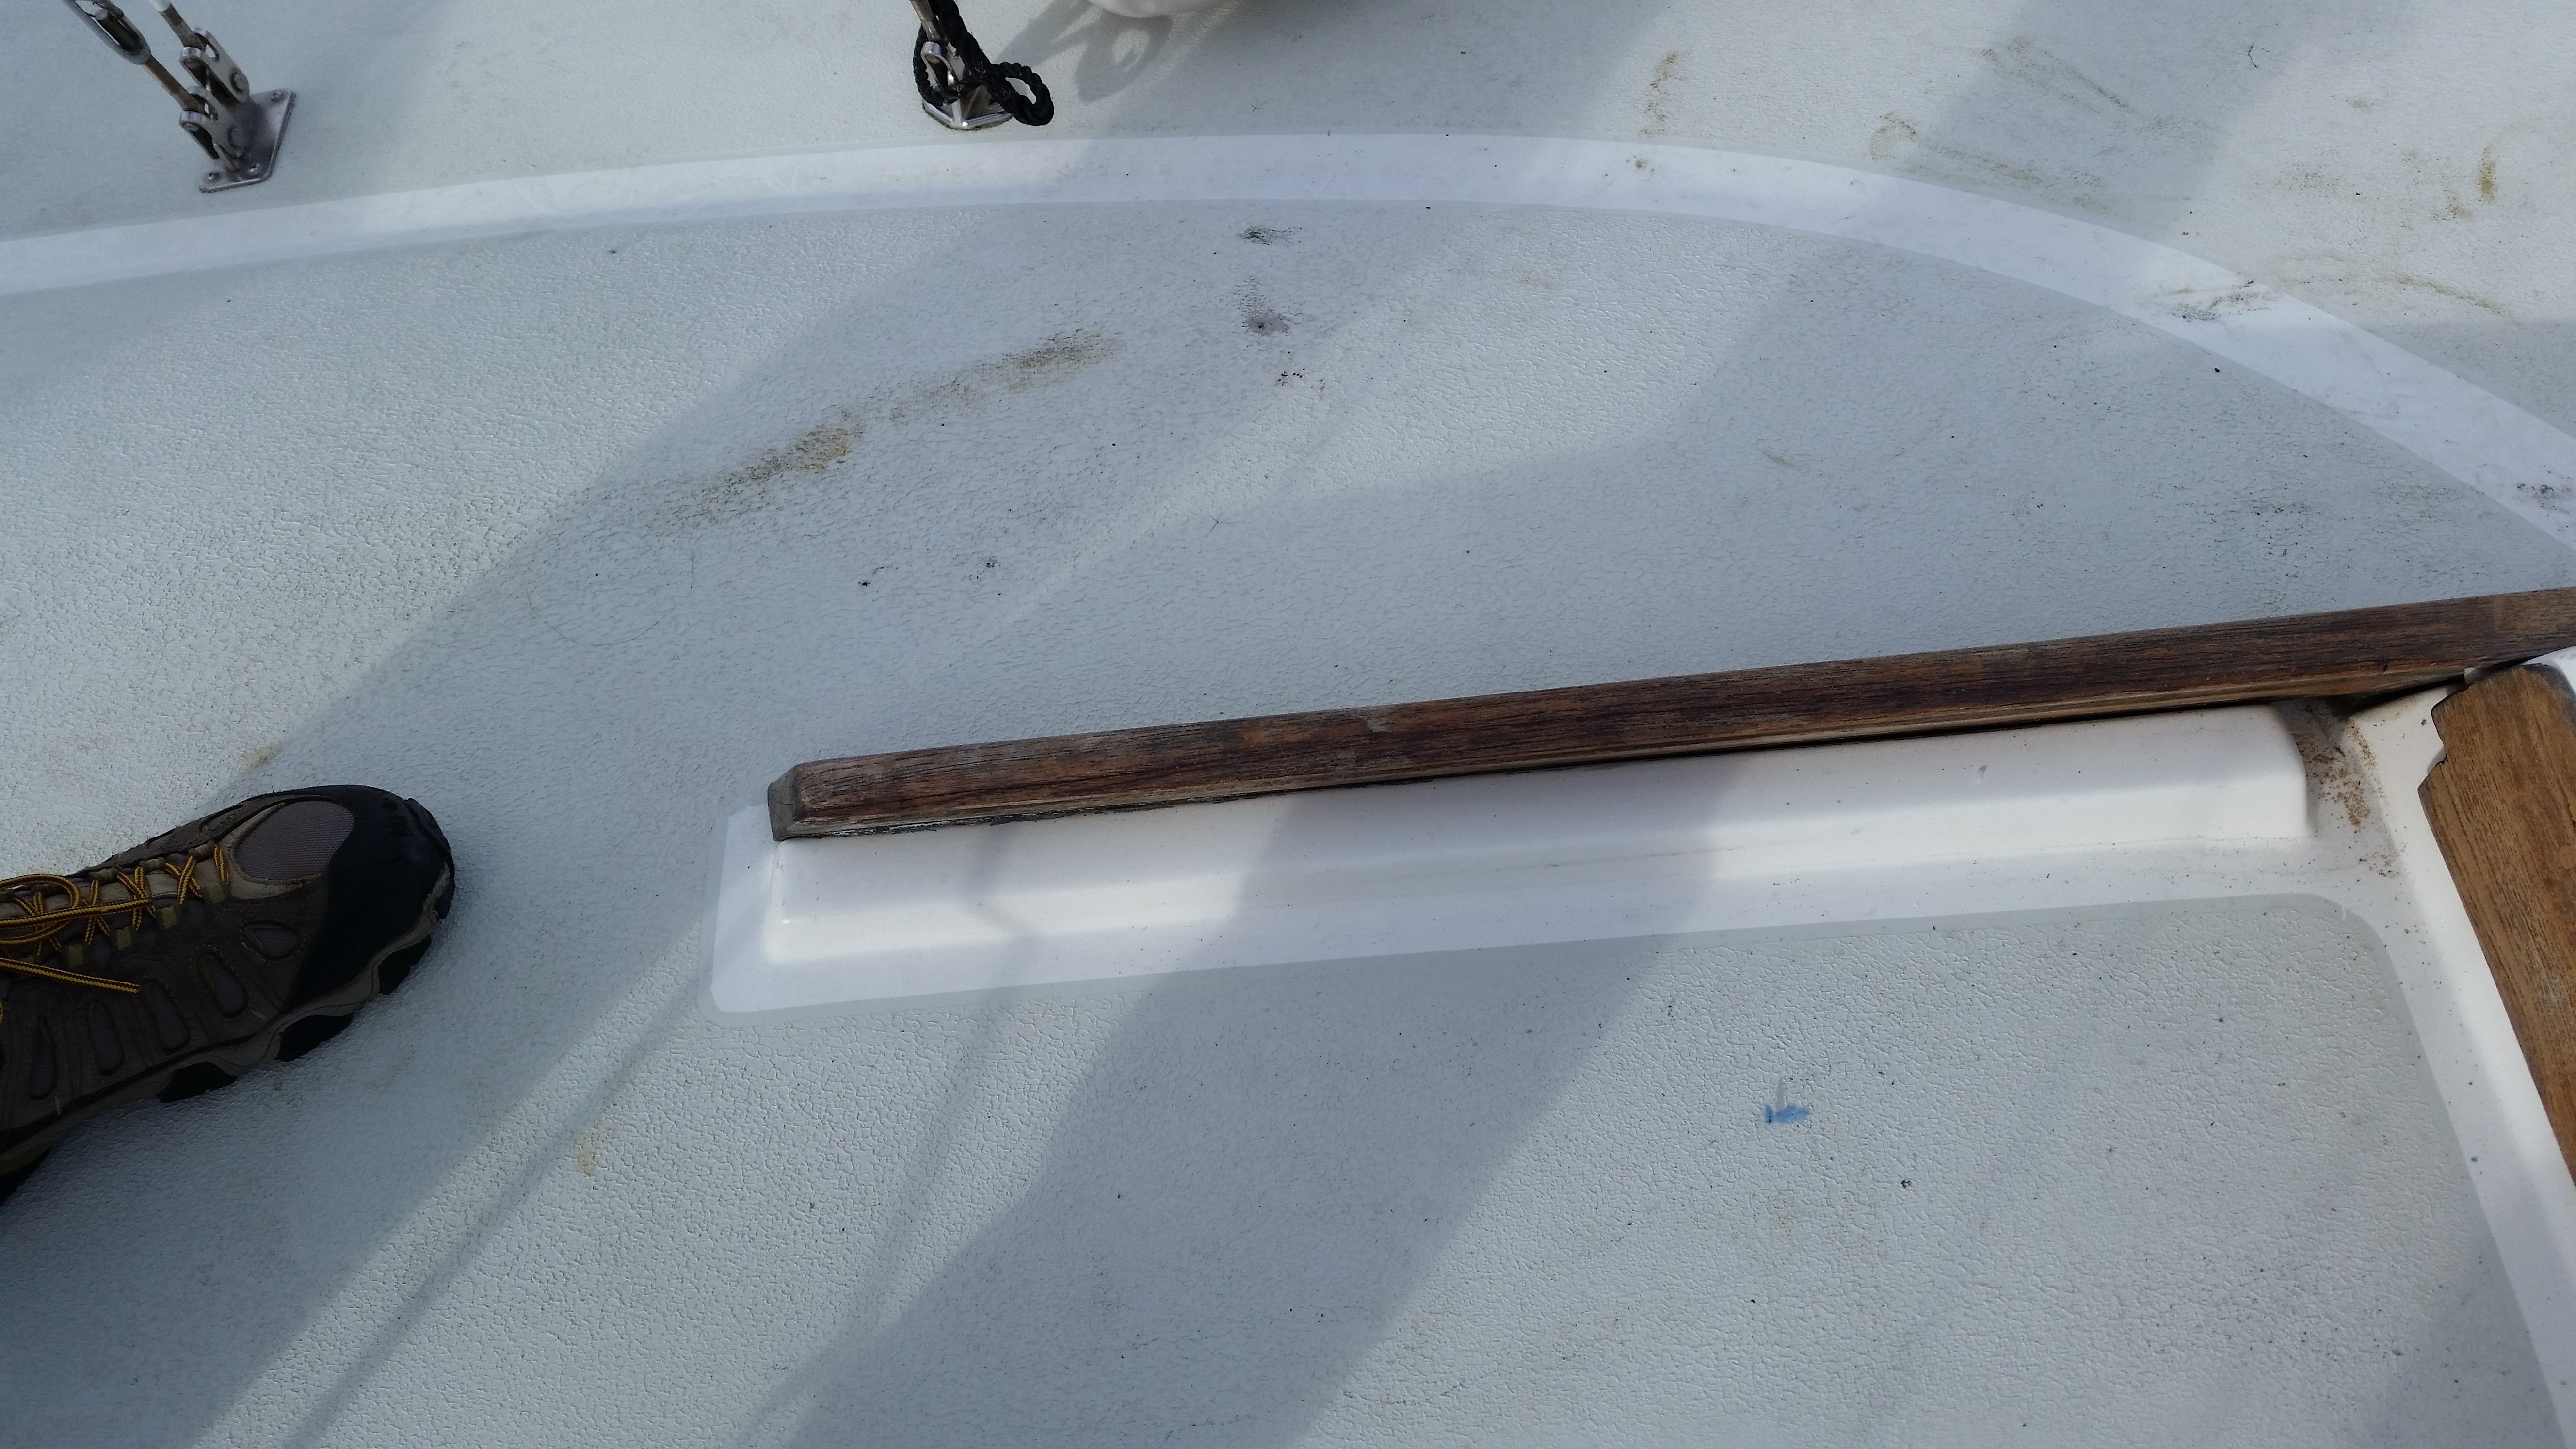
- epoxy a broken piece back onto the port side forehatch slide… hopefully using standard West epoxy will prove to be a good choice of adhesive.
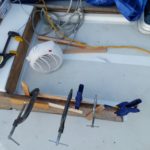
Hatch slide repair 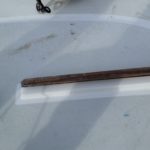
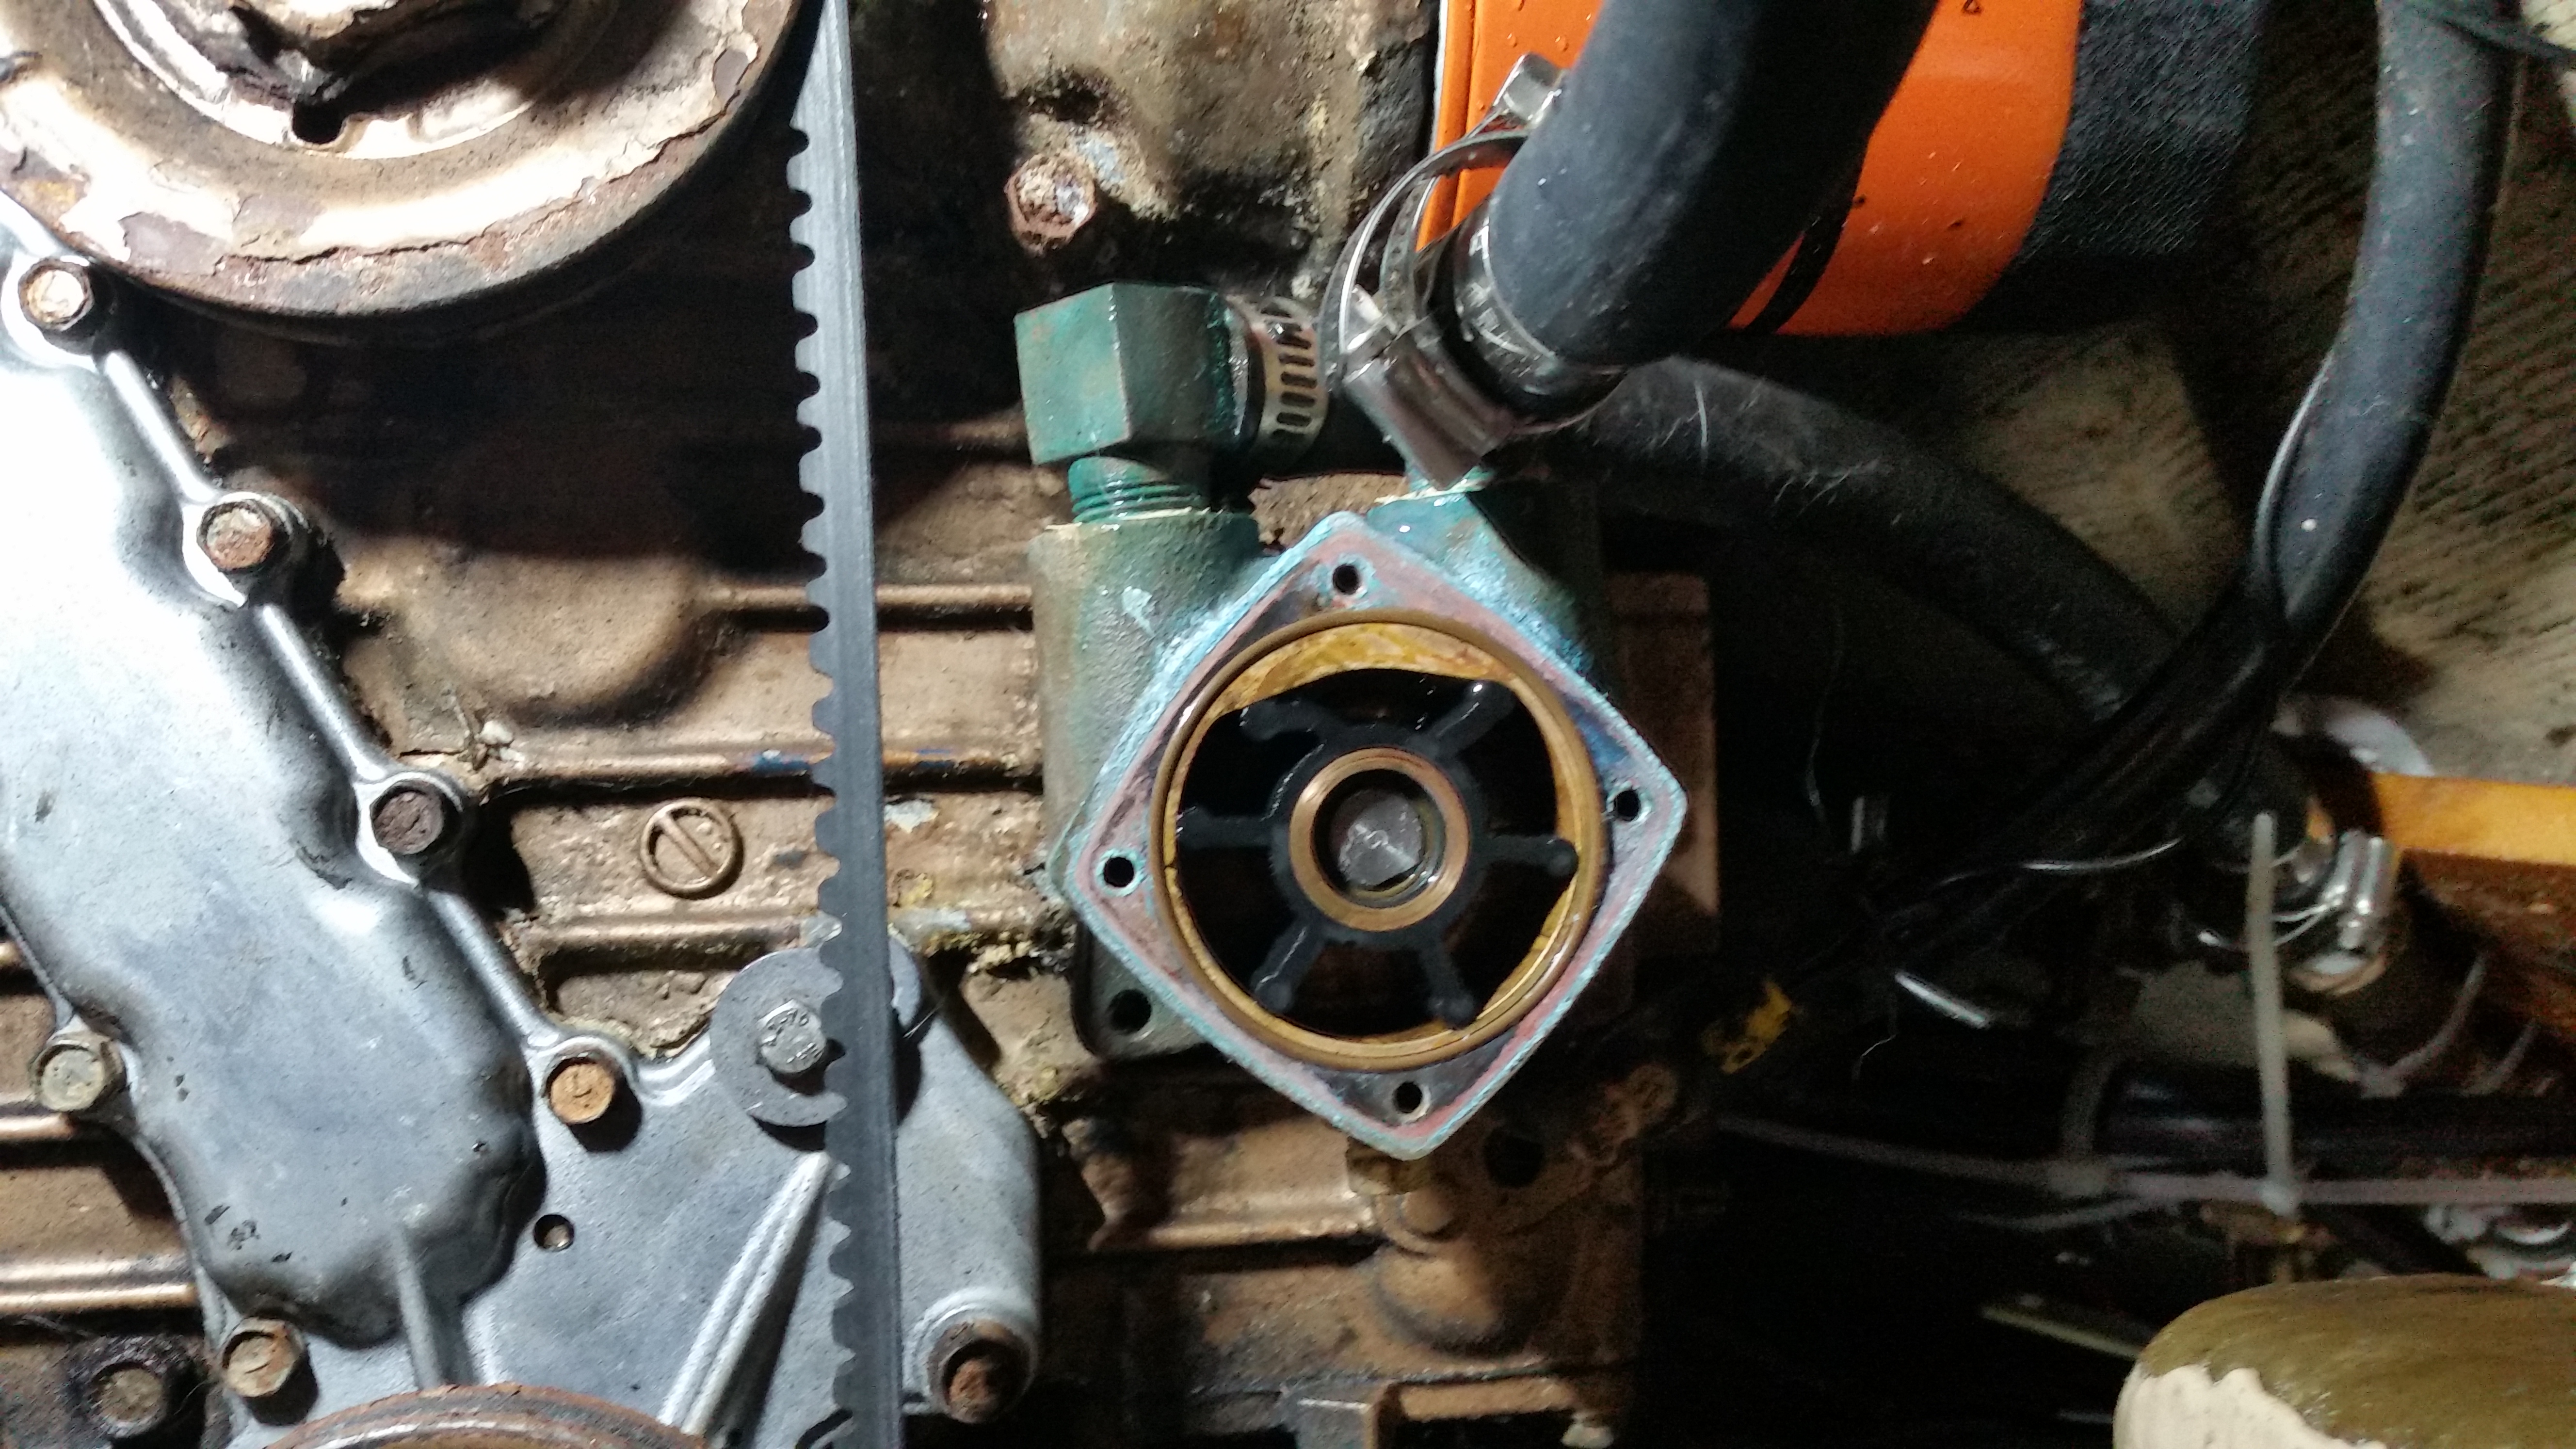
Hatch slide repair - the usual spring maintenance: change the oil and filter, change the transmission oil, install a new raw water impeller
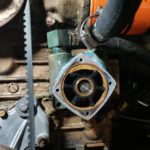
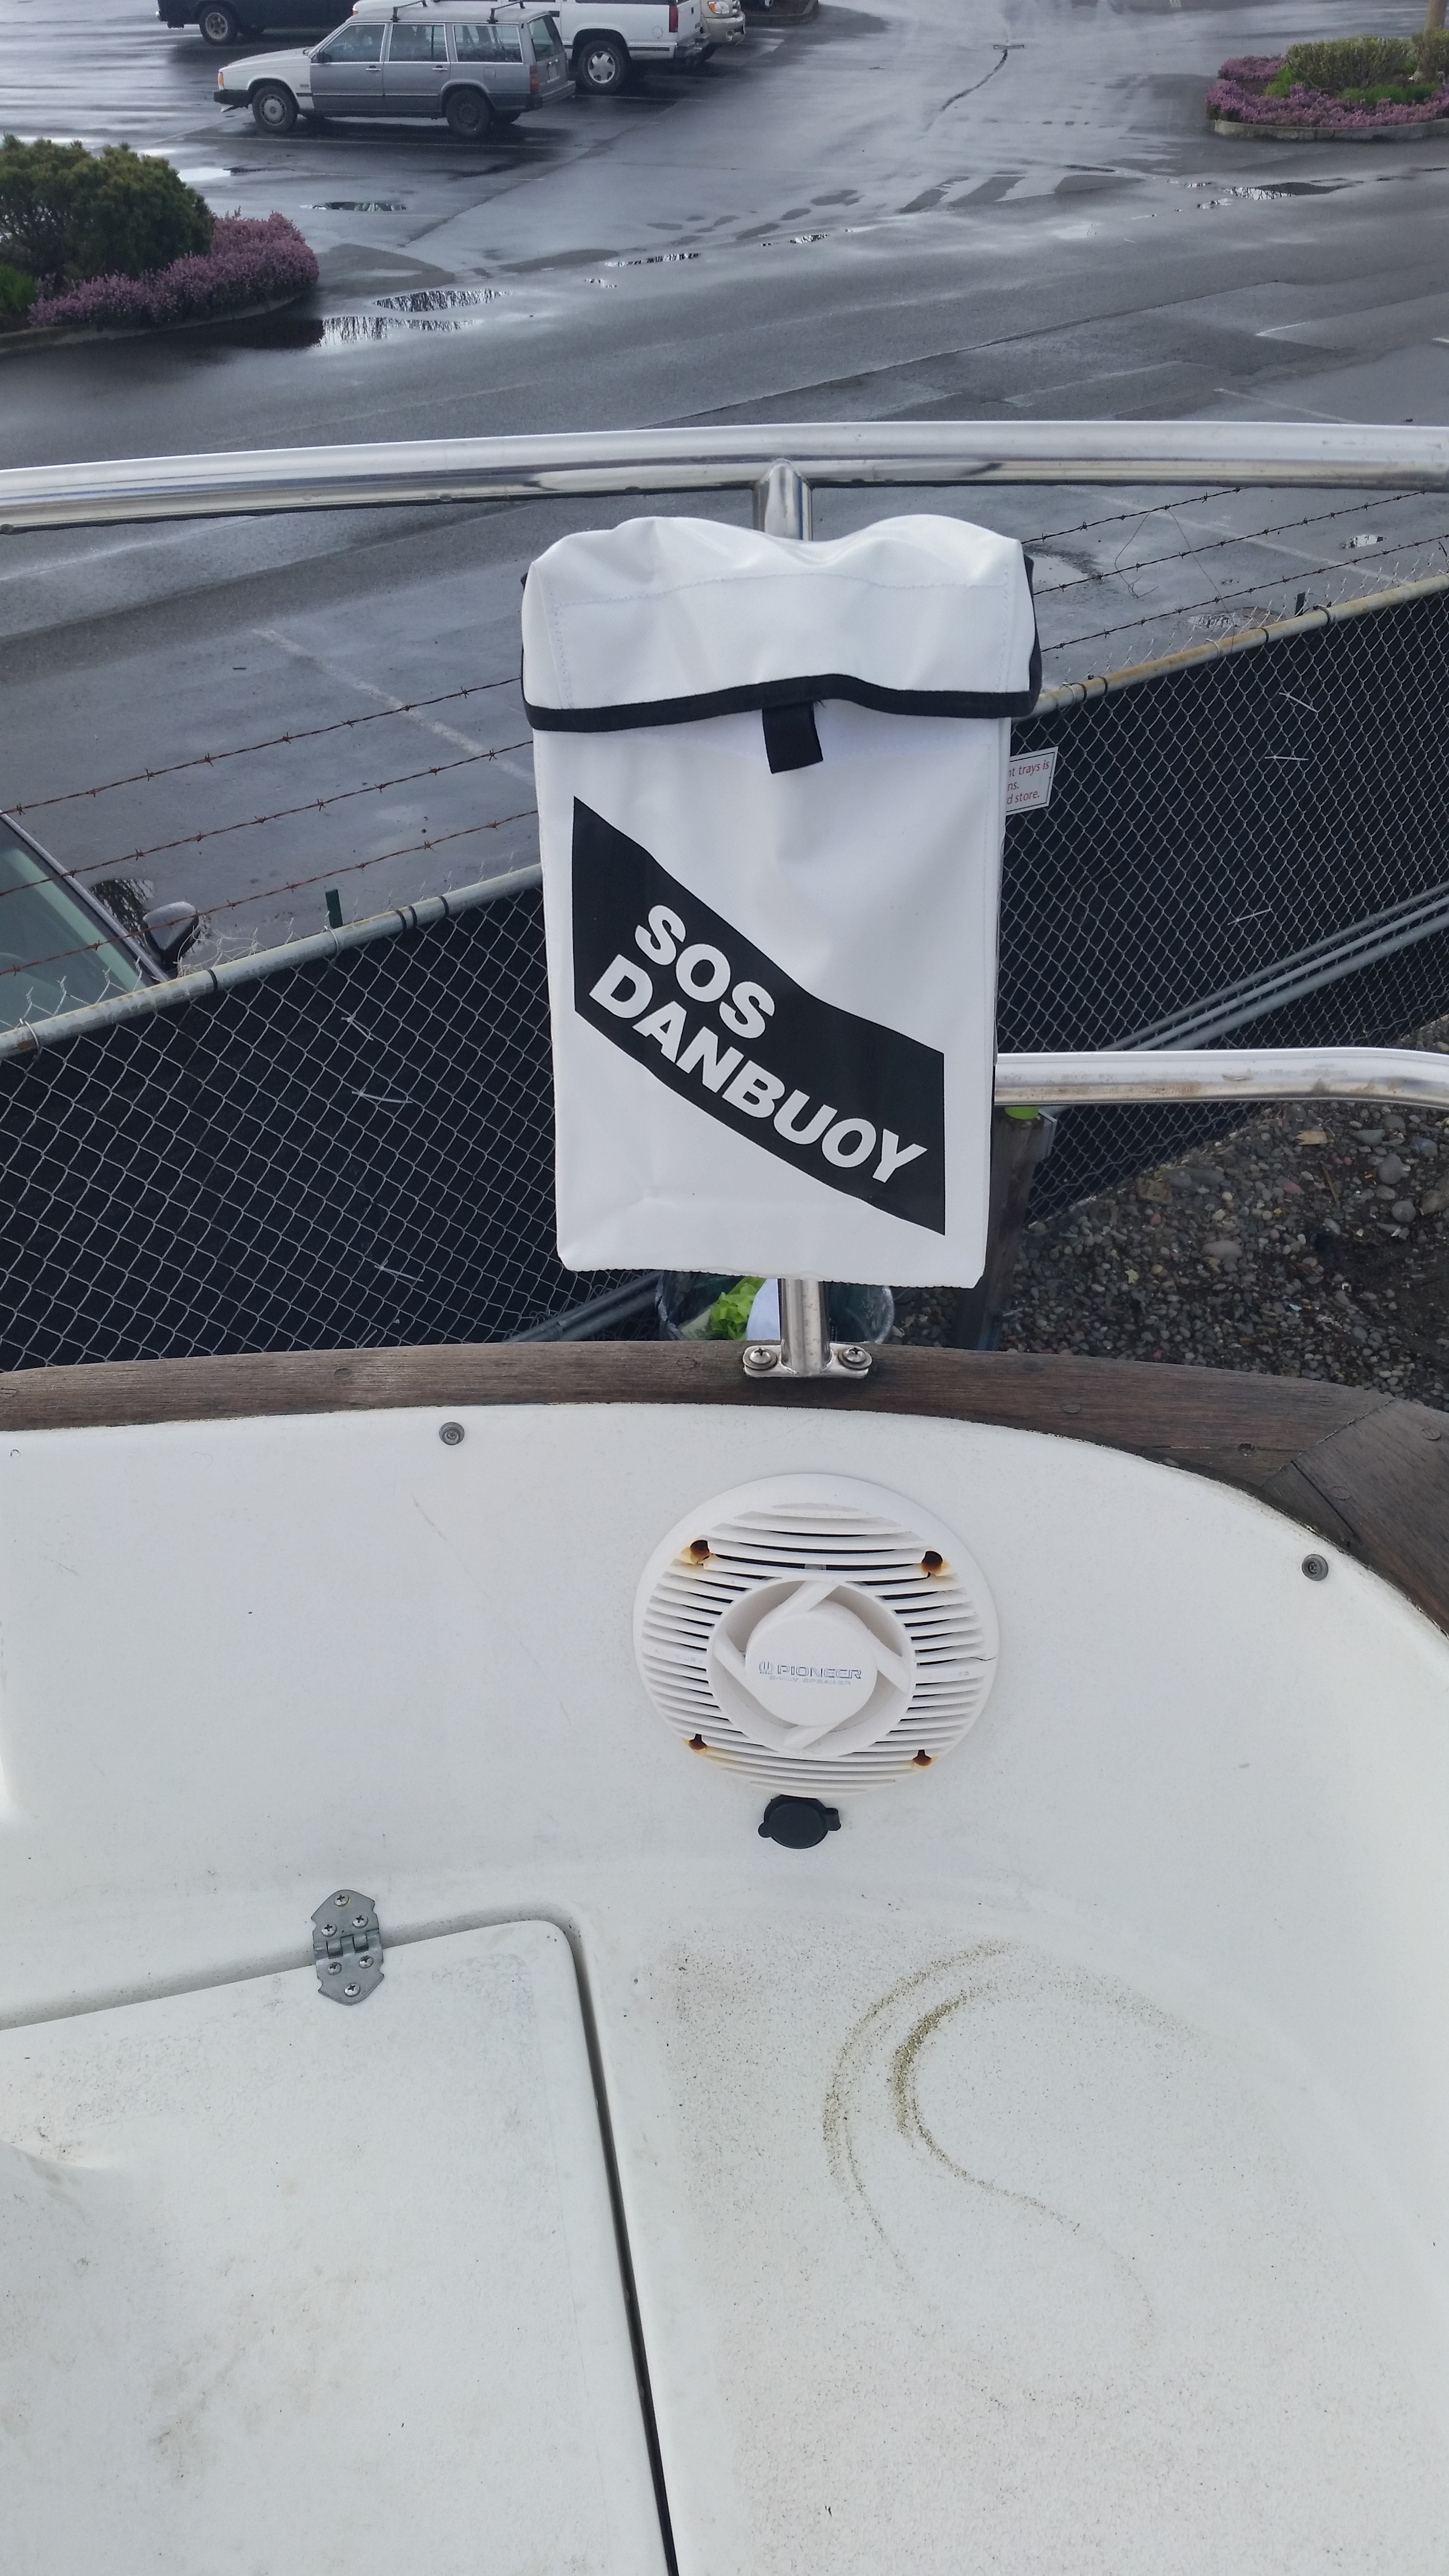
Raw water impeller - mount our inflatable Dan Buoy
- better, in our opinion, to throw to someone than a Life Sling, as it provides an easy to see flag, something for a MOB to hold onto, and a drogue to keep it from blowing downwind in high winds: https://www.youtube.com/watch?v=BMGWk6s9G4k
- we are still keeping our Life Sling to use when closer to an MOB, and to raise them to the deck if they can’t get out of the water themselves, but it lives in a cockpit locker now and the smaller Dan Buoy is on the pushpit rail
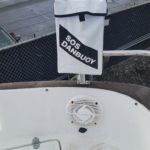
Dan Buoy
- final step was to wire a big Anderson plug (good for high amperage applications) to the battery (with a fuse) so we can use a secondary, high amperage RV style battery charger when needed
- last fall we decided next long fall trip, when we don’t have a lot of solar capacity because of sun angle, we would start carrying our trusty 1000 watt Honda generator for emergency battery recharge needs. Only problem is our really nice, programmable, truly marine battery charger is only 10 amps (~120 watts)… we would have to run the generator for hours to get a decent recharge on our house battery bank. Wanting to be good neighbors and run a generator as little as possible (and not be stuck watching the gen for hours) we can now charge our batteries occasionally using a 55 amp (~660 watts) RV style charger… not something we’ll ever do when we’re not on the boat monitoring things, but nice to have the extra charge capacity to put a quick fill up on the batteries (1 hour of charge should get us 1 – 1 1/2 days of normal amperage use).

After two days of driving and three pretty, err, full days of work, Bass was back in Hailey and the boat is back in the water, looking good and ready for her next adventures!
As always, interesting and well-written. I was very interested in what you rigged up for Hobie. It looks like it will work. You are clever and creative.
And wow that Dan Buoy for Man Overboard looks to be a huge improvement over the old rings. Good for you..
Oh and thanks for the adorable Mother’s Day card.
Huge hugs,
Debbie